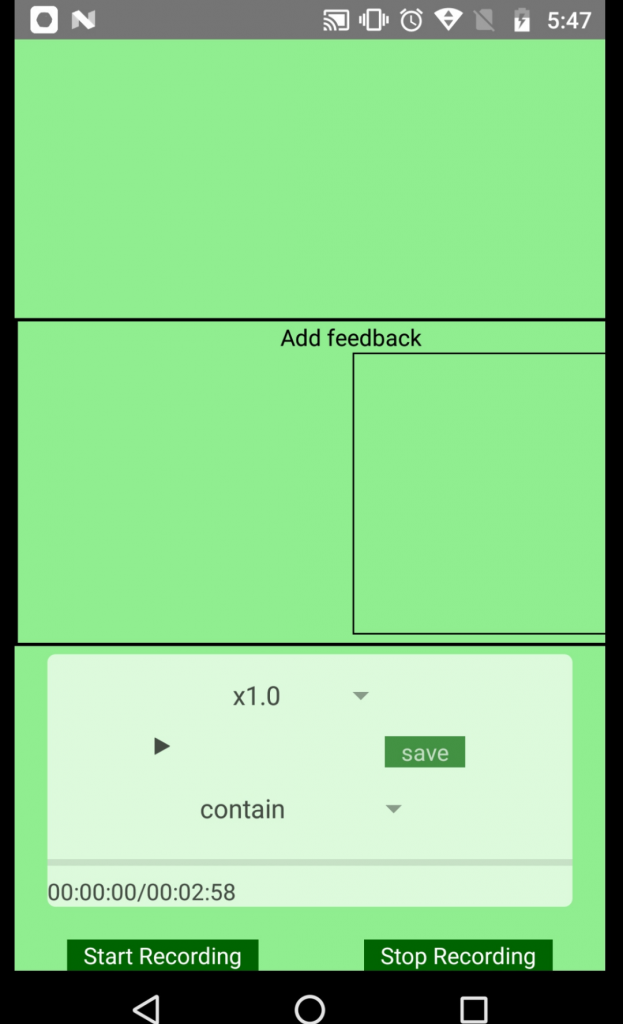
We had a requirement to be able to indicate and provide feedback on a video in the form of drawings and comments.
Users can use this feature to give feedback on videos and keep a record of them. Video Feedback will have extensive use-cases in the real world scenario. Anyone from teachers, professors to professional athletes may find this requirement suit their needs.
Imagine a fitness coach providing feedback to his trainees by exactly pointing out on the video how a workout could have been done in a better way, a ballet coach pointing out exactly how the hands and legs should be in a particular posture, an after match analysis of a cricket or football match showing how the ball moved, could be some real-life applications.
In this blog, we will look at the steps of how we can achieve this requirement in a React Native app.
We will build a simple application which will showcase the capability to play a video and provide feedback on the video in the form of canvas sketch as well as textual comments.
Prerequisites
You should have the development environment setup with the necessary tool including below mentioned:
- Android Studio
- Node for running npm commands and creating react-native app
Creating a React Native app
Create a new React Native application using either of the following commands:
- react-native init projectname (will create react-native project)
- npx react-native init projectname (will create react-native project with node modules)
Defining your View
We will start by defining the view in App.js file within the render function which will get rendered on the app view.
First we will include the video using the Video tag, which will have all the capabilities to run and control the video using the below code. The video component helps in playing the video and also controls to either make it go faster or slower.The different actions on the video will be tied with the state.
1 2 3 4 5 6 7 8 9 10 11 12 13 14 15 16 |
<Video source={{ uri: 'https://rawgit.com/uit2712/Mp3Container/master/tom_and_jerry_31.mp4' }} style={styles.fullScreen} rate={this.state.rate} paused={this.state.paused} volume={this.state.volume} muted={this.state.muted} resizeMode={this.state.resizeMode} onLoad={this.onLoad} onProgress={this.onProgress} onEnd={this.onEnd} onAudioBecomingNoisy={this.onAudioBecomingNoisy} onAudioFocusChanged={this.onAudioFocusChanged} repeat={false} /> |
The state will be initialized as follows to handle the different properties in the constructor.
1 2 3 4 5 6 7 8 9 10 11 12 13 14 15 16 17 18 19 20 21 22 23 24 |
constructor(props) { super(props); // init state variables this.state = { rate: 1, volume: 1, muted: false, resizeMode: 'contain', duration: 0.0, currentTime: 0.0, paused: true, pickerValueHolder: '1.0', pausedText: 'play', hideControls: false, subtitles:[], feedbackstart:false, feedbacktext:"", canvasFeedback:[], KeyboardStatus:false }; this.keyboardDidShowListener = Keyboard.addListener('keyboardDidShow', this._keyboardDidShow); this.keyboardDidHideListener = Keyboard.addListener('keyboardDidHide', this._keyboardDidHide); this.video = Video; } |
Now we need the capability to be able to draw and provide feedback on top of the video. For this we will overlay a canvas on the video. In this example we have shown the canvas on a partial screen for better understanding, but the size of the canvas can be completely over the video so that it becomes implicit rather than explicitly showing. This is achieved using the SketchCanvas tag which will take the following properties as shown below. A higher zIndex will ensure the Canvas is over the video.
1 2 3 4 5 6 7 8 9 |
<SketchCanvas ref={ref => this._sketchCanvas = ref} style={{width:200,height:170,zIndex:22}} strokeColor={'red'} strokeWidth={5} onSketchSaved={(success,path)=>{ success && this.saveCanvasFeedback(path); }} /> |
Additionally, we have added a text input to enable the user to provide feedback in the form of text comments.
1 2 3 4 5 |
<TextInput placeholder="Feedback" style={{padding:0,backgroundColor:"transparent",color:"white"}} onChangeText={(text)=>{this.setState({feedbacktext:text})}} onSubmitEditing={()=>this.saveFeedback()}/> |
The below image depicts the video area with controls and the overlay canvas and text input.
Thus, in the above illustration, the coach can pause the video at any given time. He can make markings on the video where ever necessary and add required feedback as shown in below image.
Additionally, text feedback can be provided as shown below.
The saveCanvasFeedback method is added to handle the saving function so that this data can be saved and used to replicate the feedback later. It stores this content in the state for the component.
1 2 3 4 5 6 7 8 |
saveCanvasFeedback=(path)=>{ let hour=parseInt(parseInt(this.state.currentTime/60)/60); let minute=parseInt(this.state.currentTime/60); let seconds=parseInt(this.state.currentTime); let micseconds=parseInt(1000*(this.state.currentTime-Math.floor(this.state.currentTime))); let rawData=[...this.state.canvasFeedback]; rawData.push({"starttime":`${hour}:${minute}:${seconds}:000`,"endtime":`${hour}:${minute}:${seconds+1}:000`,"path":path}) this.setState({canvasFeedback:rawData},()=>{console.log(this.state)}) } |
The text input is also saved to the component state using the saveFeedback method. The state is used for keeping track of the time and location of the video where each feedback was received. It keeps updating its record after a save and the screen is cleared so that feedback can be continually given on the video.
1 2 3 4 5 6 7 8 |
saveFeedback=()=>{ let rawdata=[...this.state.subtitles]; let hour=parseInt(parseInt(this.state.currentTime/60)/60); let minute=parseInt(this.state.currentTime/60); let seconds=parseInt(this.state.currentTime); let micseconds=parseInt(1000*(this.state.currentTime-Math.floor(this.state.currentTime))); rawdata.push({"starttime":`${hour}:${minute}:${seconds}:000`,"endtime":`${hour}:${minute}:${seconds+1}:000`,"text":this.state.feedbacktext}) this.setState({subtitles:rawdata,feedbackstart:false},()=>{console.log(this.state.subtitles)}) } |
At the end, the video marking and feedback information is saved in the state of the screen component so that it can be consolidated in a text file, pdf or any other format as needed.
1 2 3 4 5 6 7 |
saveCanvasFile=()=>{ let date = new Date(); this._sketchCanvas.save('png', true, '/Videoanalytics', 'sample'+parseInt(Math.random()*1000), true, true, false); this._sketchCanvas.clear() } |
The saved data can be used as needed in the application. The additional capability which can be included is to incorporate screen recording such that the feedback added can be exactly replayed in the same format over the original video. You can find the complete code for this example here.
CONCLUSION
This is an interesting capability which can be used in multiple cases to provide feedback on a video. This can be further enhanced to incorporate the capability to replay the feedback and use this feedback data to measure performance and derive inferences on the data captured.


