Problem Statement
We often see that people provide list of windows and you are expected to remember the sequence of tasks and corresponding window to be able to do your work. Some of the popular small business software comes up with clickable landing page, which briefs about where to start and what will be the next thing to do. For a powerful ERP like Adempiere, which often comes up with several business processes, the clickable landing page approach will not be sufficient. That is where Adempiere provides you a capability to define process related General Workflow, which reduces overall training need of the business.
For demonstration purpose, I have considered following steps, which is a subset of overall Expense Claim and Reimbursement business process (Refer to https://walkingtree.tech/wp-content/uploads/2011/12/expenseclaim1.png for complete business process flow):
- Creation of Expense Type
- Recording and Completing Expenses
- View Expenses (to be invoiced), which will be used for Creating and Completing the Sales Order for Customer
- View Expenses (to be reimbursed), which will be used for Creating an Account Payable Invoice for reimbursement to employee
How Do We Do this in Adempiere?
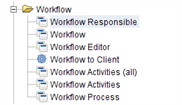
Adempiere comes up with following set of windows / functionalities to enable you to manage workflow:
Create Nodes
A general workflow will have one or more node, which will eventually allow you to perform certain operations.
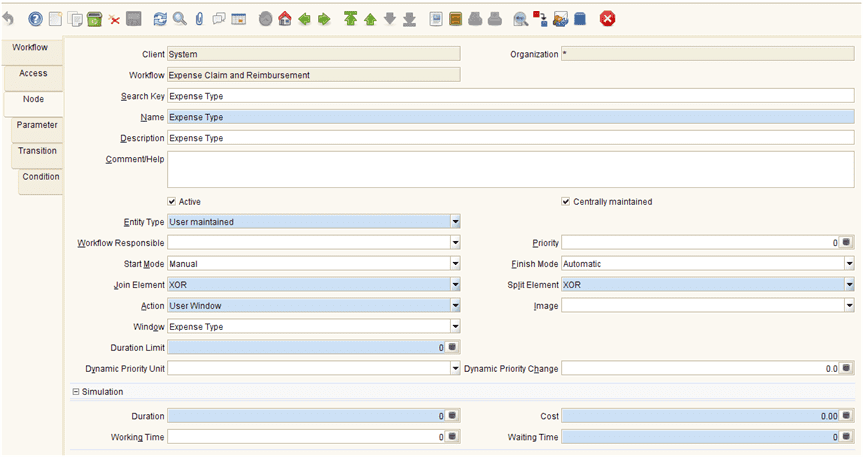
In order to be able to launch a window, you need to mention the specific window name. For this you need to do following:
- Select “User Window” as Action
- Specify window name
Similarly, you shall be able to create other nodes. For example – I have created following nodes:
Now that you have created all the nodes that you need in your workflow, you need to define possible transitions among the nodes.
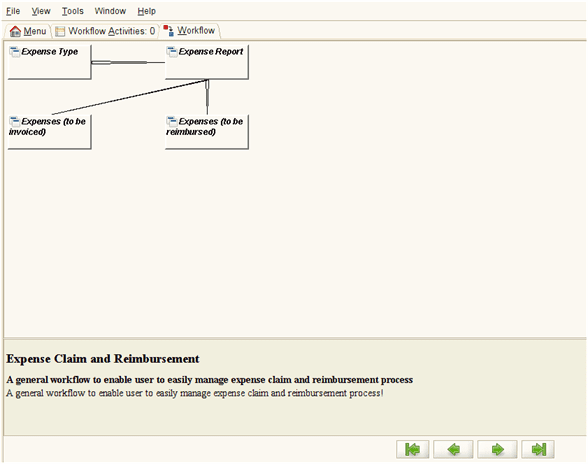
For example – I have defined following transitions
- From Expense Type to Expense Report
- From Expense Report to Expense (to be invoiced)
- From Expense Report to Expense (to be reimbursed)
Create a Menu
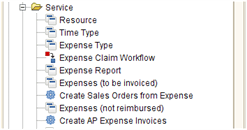
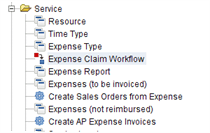
Create a menu for the Workflow and put this along with the other expense related menu:
Position the newly created menu at desired place in the hierarchy:
Client Movement
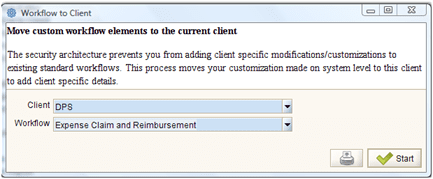
Use The “Workflow to Client” process to make the workflow customization available to your client. By default the workflow customization at the System level, doesn’t become available to the client. The “Workflow to Client” process moves the customized workflow to the desired client.
Role Assignment
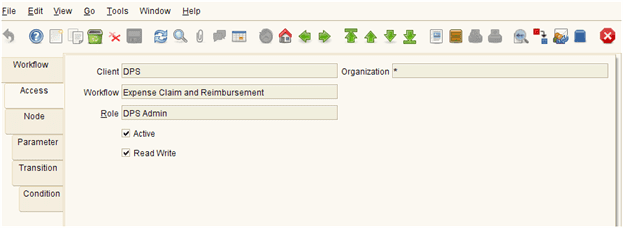
Once the workflow becomes available to the desired client, you can make it available for one or more role as shown in below image:
Once you give permission for a given role, the workflow becomes available for that role as shown in below image:
Accessing the workflow
A completed workflow will look like below image:
References
- http://www.adempiere.com/How_to_Configure_Dynamic_Approval_Workflow
- http://www.adempiere.com/How_to_Activate_Document_Approval_Workflow
- http://www.compieresource.com/2008/04/add-approval-to-document-workflow.html#more
- http://wtcindia.wordpress.com/2011/12/21/expense-claim-and-reimbursement-in-adempiere/
Summary
When the end user see the wholistic view of the business process and they are able to do things as they see, the training cost becomes negligible. The simplicity of Adempiere allows you to design different business data flow in the easiest possible ways and that reduces the overall training effort. After reading this article you know how to create general workflow and empower your end users to make effective use of the system.
I hope you have enjoyed reading this blog. In case you need professional assistance to be able to achieve your business need, you can always reach us by visiting our Contact Us page. If you have any specific question then feel free to post the same on our forum or the blog related to your topic of concern.

