


Blogs
Play with Maps in React using MapBox
Creating maps, marking and finding specific positions on the map and lots more can be done with maps. MapBox is a mapping platform which helps in building custom maps and solutions using maps.
In this blog, we will use MapBox in our React application to render a map with custom Markers.
I have picked up some of my neighbouring coordinates, and in our React application, we will show the hospitals as Markers with the number of beds available in each using a street style map.
Setting up
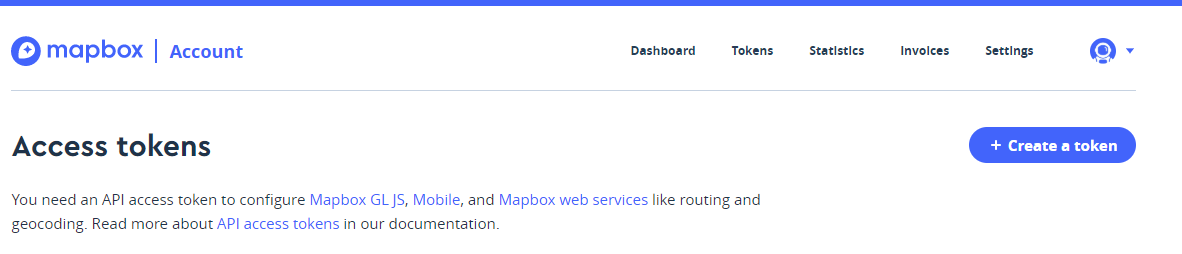
In order to be able to use MapBox, we need to first sign up to get the API token.
Sign up in MapBox and create a new token using the blue button as below after signup.
Provide a name and the default public token should suffice for general use. If you select secret scopes in the bottom section, you will also receive a secret token which will be displayed only once. You can define scopes based on your requirement of accessing the API.
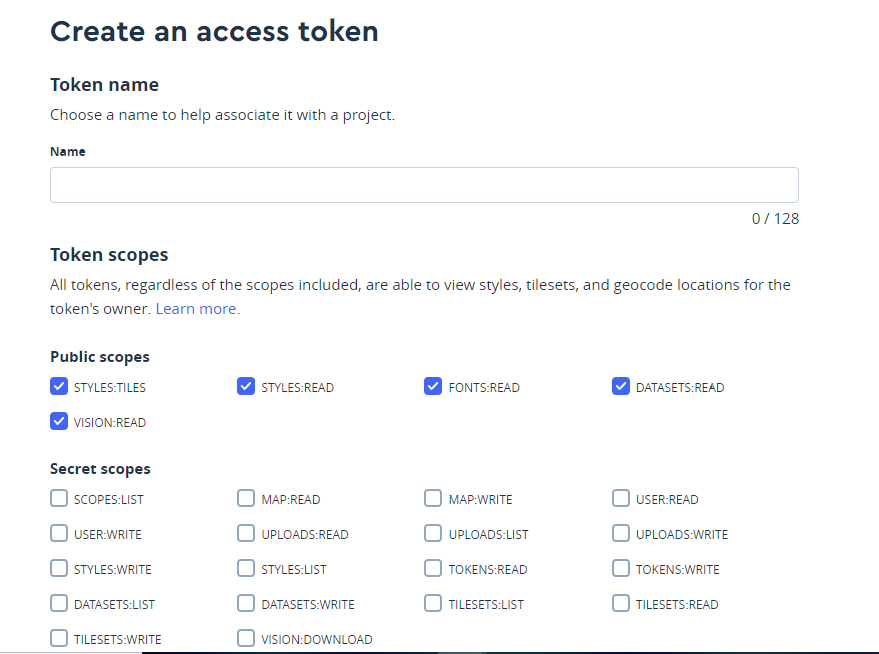
You will be prompted to re-enter password after which your token will be created and ready to use. This token will be used in your React component.
Next we will create our template React application using create-react-app as below
npx create-react-app my-map-app
In order to include MapBox into our React application, we will make use of react-map-gl, a set of React components created by engineers at Uber for Mapbox GL JS that can be easily included in our React application.
So let’s install all the dependencies. Semantic-ui is included for any styling requirements.
npm install react-map-gl semantic-ui-react semantic-ui-css --save
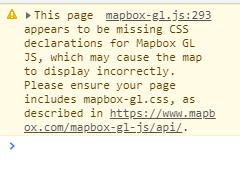
For the Mapbox GL JS to work as expected we need to include the below dependencies in public/index.html:
<script src='https://api.tiles.mapbox.com/mapbox-gl-js/v1.0.0/mapbox-gl.js'></script>
 <link href='https://api.tiles.mapbox.com/mapbox-gl-js/v1.0.0/mapbox-gl.css' rel='stylesheet' />
If you miss to include the above, you also get the below warning in the browser console:
With the prerequisites setup, we can now proceed with defining our Map component and rendering it in the App.js.
Adding a Map Component
To include a simple map, first import the MapGL and NavigationControl to show the map and the controls on the map.
import MapGL, {NavigationControl} from 'react-map-gl';
The local state is initialised with the required coordinates(latitude, longitude), the size of the map(width, height) and zoom options for the viewport as below:
constructor(props) {
    super(props);
    this.state = {
      viewport: {
        latitude: 17.442120,
        longitude: 78.391384,
        zoom: 15,
        bearing: 0,
        pitch: 0,
        width: '100%',
        height: 500,
      }
    };
  }
The TOKEN created earlier should be defined as a constant and used for the mapboxApiAccessToken option to setup the MapGL component in the render method as below:
render() {
    const {viewport} = this.state;
return (
      <MapGL
        {...viewport}
        onViewportChange={(viewport) => this.setState({viewport})}
        mapStyle="mapbox://styles/mapbox/streets-v10"
        mapboxApiAccessToken={TOKEN}>
        <div className="nav" style={navStyle}>
          <NavigationControl onViewportChange={(viewport) => this.setState({viewport})}/>
        </div>
      </MapGL>
    );
  }
The onViewportChange={(viewport) => this.setState({viewport})} function is required to be bound to update the local viewport state to ensure the zoom and click functionality work on the map and the viewport is updated for any action, along with the Navigation controls, so it is mapped for both MapGL and NavigationControl.
The mapStyle option is used to select the type of map you want to render. You can pick one of the predefined styles listed here, or you can create your own style in the MapBox website. In this example, I am using the predefined street style mapbox://styles/mapbox/streets-v10.
The navStyle is used to position the Navigation control within the map on the top left.
const navStyle = {
  position: 'absolute',
  top: 0,
  left: 0,
  padding: '10px'
};
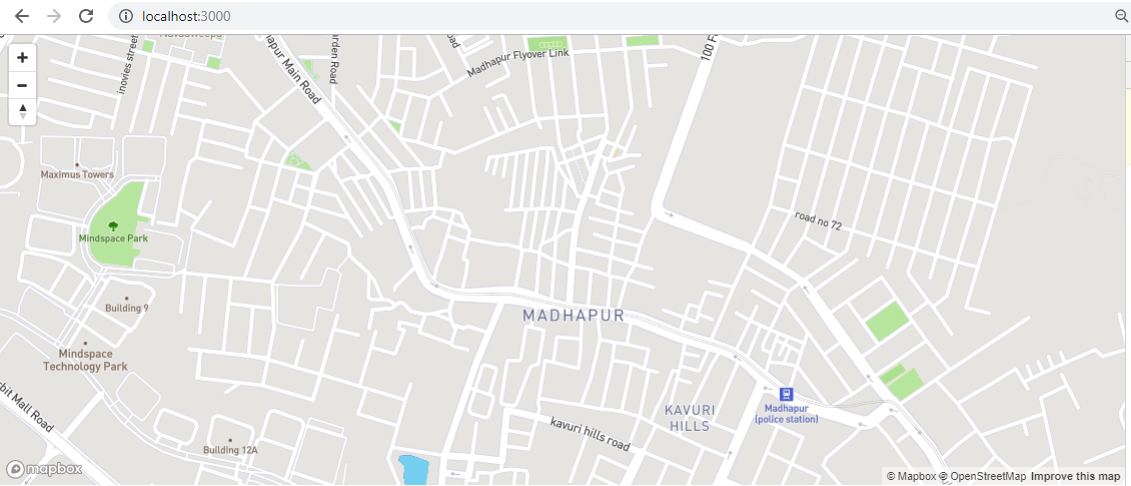
The rendered local map looks like below(the center coordinates are from a locality called Madhapur in Hyderabad, India):
Adding Markers and Popup to the Map
Now we will mark and show some dummy data for hospitals in the above map. I have created a sample list for the coordinates and the data to be shown as the markers, as below:
const markerList=[
    {lat: 17.441013,
    long: 78.391796,
    name: "ABC Hospitals",
    info: 10},
    { lat:17.442889,
    long: 78.396873,
    name: "XYZ Hospitals",
    info: 20},
    {lat: 17.441681,
    long: 78.394357,
    name: "NRI Hospitals",
    info: 10}
    ];
First, we need to include two additional imports to incorporate Markers and PopUps:
import MapGL, {NavigationControl, Marker,Popup} from 'react-map-gl';
The PopUp is defined using the PopUp component by providing the coordinates from the markerList as below:
renderPopup(index){
    return this.state.popupInfo && (
      <Popup tipSize={5}
        anchor="bottom-right"
        longitude={markerList[index].long}
        latitude={markerList[index].lat}
        onMouseLeave={() => this.setState({popupInfo: null})}
        closeOnClick={true}>
      <p><strong>{markerList[index].name}</strong><br/>Available
          beds:{markerList[index].info}</p>
      </Popup>
    )
  }
The render is modified to include the marker display in the form of a Hospital Icon based on the markerList data, we defined initially.
render() {
    const {viewport} = this.state;
return (
      <MapGL
        {...viewport}
        onViewportChange={(viewport) => this.setState({viewport})}
        mapStyle="mapbox://styles/mapbox/streets-v10"
        mapboxApiAccessToken={TOKEN} >
        <div className="nav" style={navStyle}>
          <NavigationControl onViewportChange={(viewport) => this.setState({viewport})}/>
              {markerList.map((marker, index)=>{
                 return(<div key={index} >
<Marker  longitude={marker.long}
 latitude={marker.lat}>
       <Icon name='hospital' size='big' onMouseEnter={()=>this.setState({popupInfo: true})}
 onMouseLeave={()=>this.setState({popupInfo: null})}/>
           </Marker>
{this.renderPopup(index)}
</div> );
              }
               ) }
       </div>
      </MapGL>
    );
  }
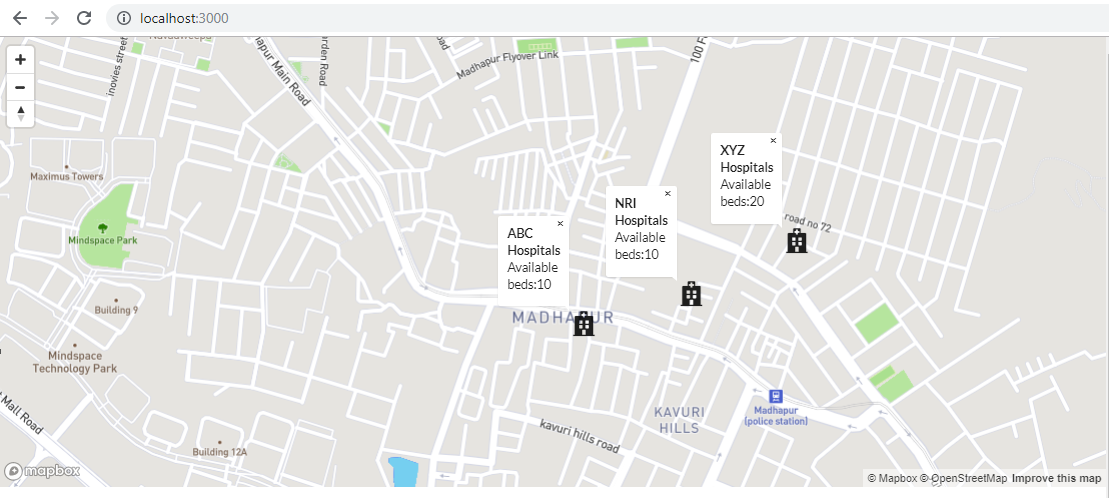
To keep the example simple, we show the popup all at once with some basic info on mouse enter event of the marker.
Now the map looks like below with the hospital icon markers and the corresponding popUp info.
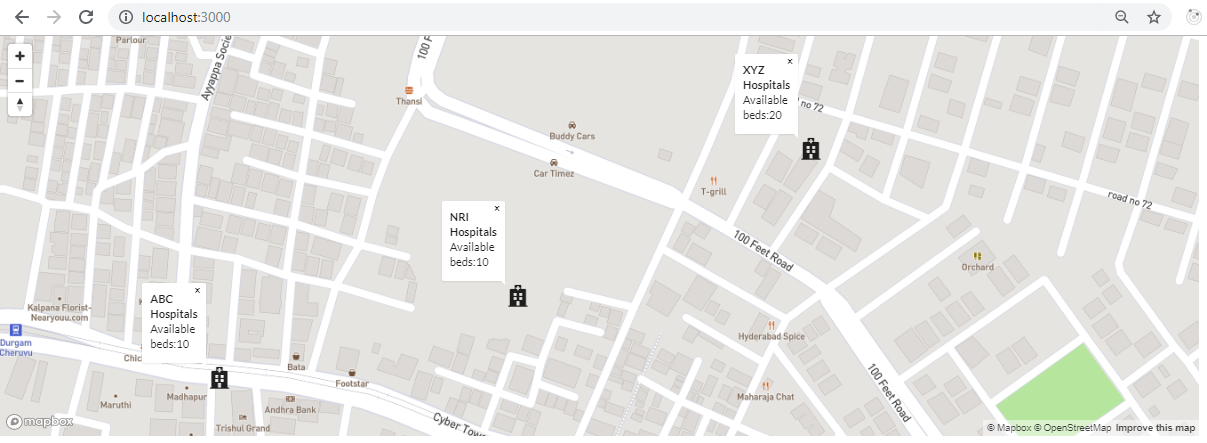
You can zoom into it to get a better look at the location as below:
This map can be further modified and styled to suit your needs.
You can find the complete code for this example here or fork and try out the example by yourself at sandbox.
Conclusion
In this blog, we learnt how to display maps with markers and popups at specific coordinates in a React Application, using MapBox GL JS library through the components provided by the react-map-gl. This library provides a plethora of functionalities and styling around maps and can be explored further depending on your interest and requirements.
References
https://github.com/uber/react-map-gl/blob/master/docs/components/navigation-control.md


react-map-gl doesn’t support markers clusters )-:
It’s very-very bad…
Thanks for your inputs. I didn’t cover this aspect as a part of my use case. Will surely explore other alternatives.
Map markers doesnt work with this.
Hey Abhilasha! I am learning to react js currently and I searched for some interesting tutorials for polishing my knowledge, luckily I found your article very helpful and I liked that you have taken easy code to create maps with react.
I would implement this tutorial. Thanks for posting this amazing code and content.