Blogs
Point Of Sale ( POS ) in Adempiere
Problem Statement
Any retail business sales process will have 4 step process. At high level those steps are
- Sales Order
- Shipment
- Sales Invoice and
- Receipt.
In all cases all these steps are mandatory to ensure proper book keeping. But if shopping mall or any business which runs with even this smallest sales life cycle by integrating themselves with an ERP system, then it will be very time consuming for sales person to fill all these documents and they will not be able to meet primary business objective. There is need for mechanism where the data entry will be as minimum as possible and as fast as fast possible but all the required documents will be file . You cannot afford to make customer wait in the queue while you are filling all the standard sales document.
That is where there is a need for more efficient way of managing documents by assuming (defaulting) certain information. In retail or business like hotel, casino, theatre, we call this as ‘point of sale’ or POS.
The good news is that ADempiere has the mechanism to setup POS, which improves productivity of sales person and improves customer satisfaction.
Scope of This Article
As part of this article, we will cover following things:
- How to configure POS in Adempiere
- How to create POS order
- Details of documents that get created when one POS transaction is completed
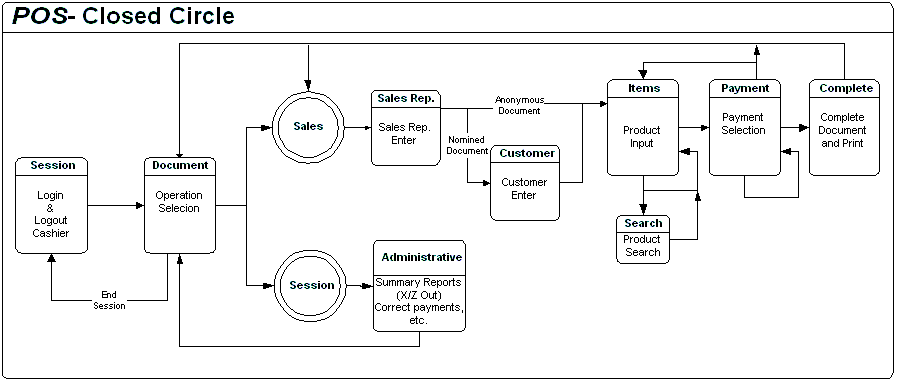
The below diagram will give overview of General POS process and this article talks about sales process outlined in this diagram
Prerequisites
- We assume the user has a basic understanding of Adempiere ERP or any other ERP
- Adempiere 360
Details
Step 1: Basic Setup
1. The core of any business is selling products or services. Create a product in Adempiere with standard product window. In this document, we have taken ‘Book’ as a product and set the product category to ‘Standard’
2. Associate price list and price details for the product
3. Create another product with name ‘Pen’ and set the product category to ‘Standard’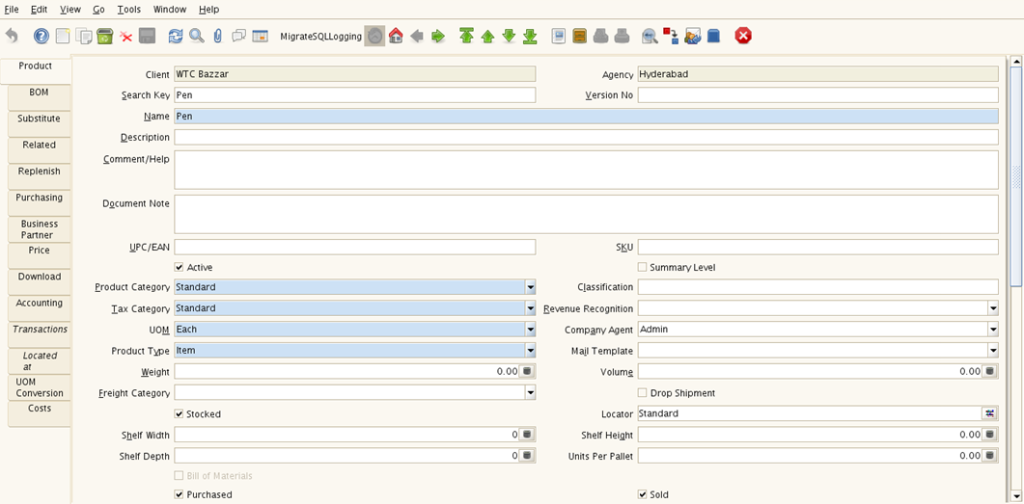
4. Associate this price list and price details for ‘Pen’
Step 2: Create POS key layout
This step helps you to configure the lay out of the POS window which appears to sales person
1. Open ‘POS Key Layout’ Window and associate the products to show in the layout
Name: You can put relevant name
POS Key Layout Type : Select Product
Columns: Enter number of products (for example we have 4 columns) you want to show in each row of POS layout.
Print Color: Select the print colour on which you want to show the product name. For example – we have selected green and items will appear in green color on the POS terminal (as show in below diagram):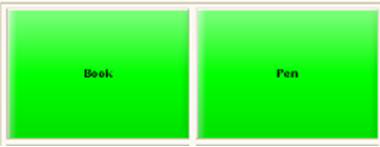
2. Associate products to POS key layout and generate POS Key
- From menu, Open ‘POS key generate’ process
- select POS key layout, product category and click on start.
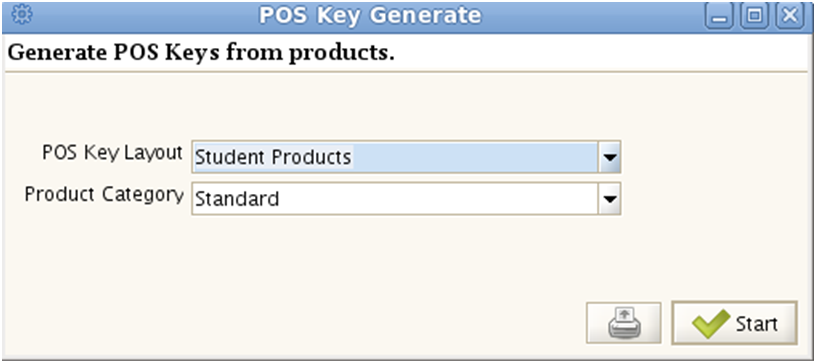
POS Key Layout: Select POS keylayout that was mentioned in previous step
Product Category: Select standard. All the products belonging to this category will be associated to key layout that was selected. If no product category is selected, all products configured in the system will be associated to the POS Key Layout.
The Below screen shows, how many keys created in selected POS Key Layout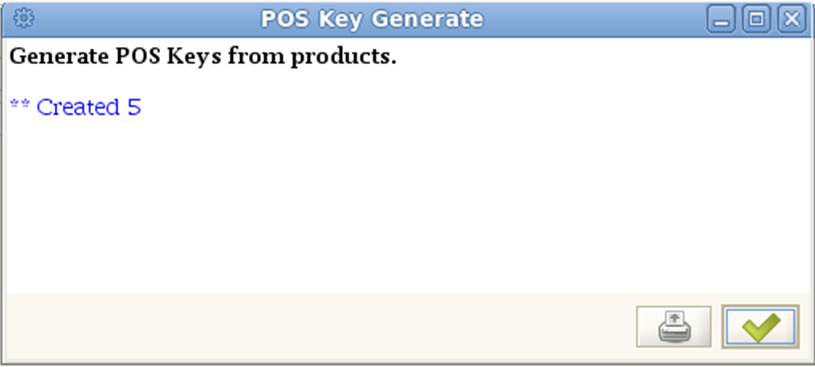
3. Selecting required products within the product category
Goto “POS key Layout” window that was opened in previous step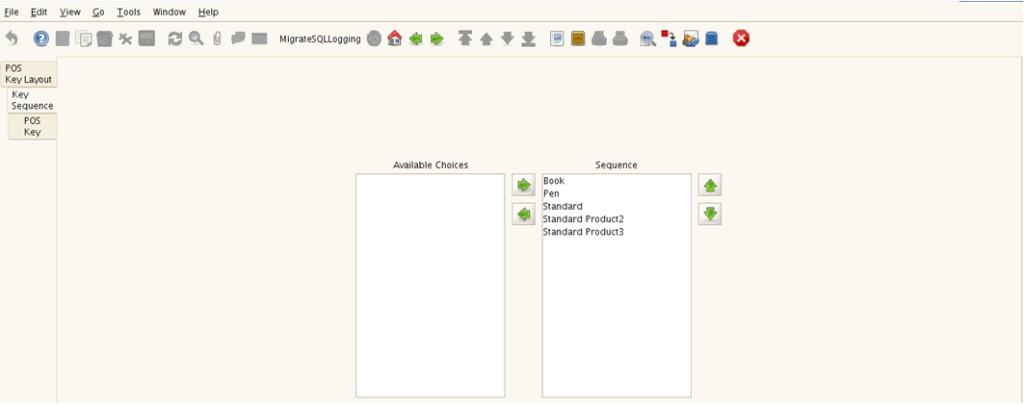
Note
- The “Key Sequence” Tab, shows list of products that are part of key layout
- Hide the products which you don’t want to show on PoS terminal
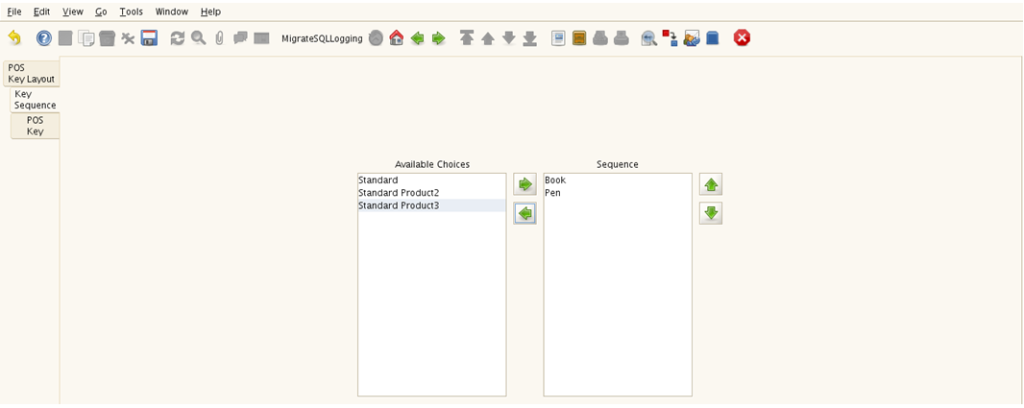
Go to POS Key tab and you will see all the products which you selected.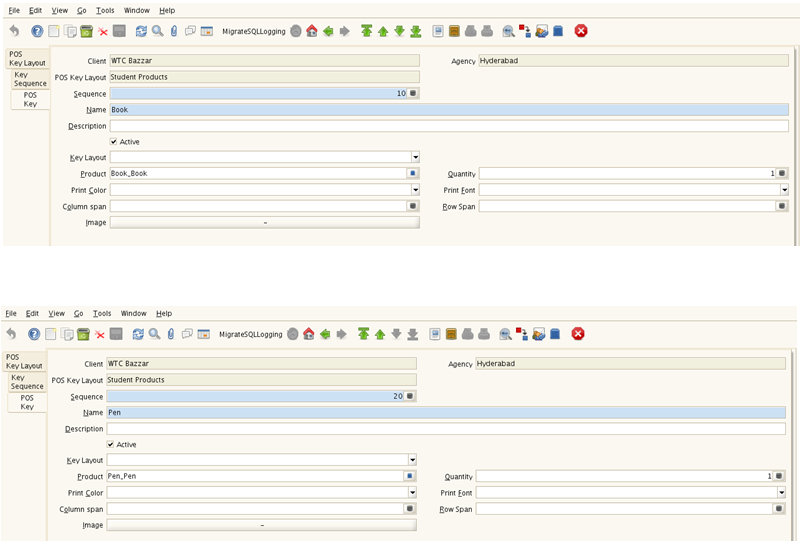
Step 3: Create POS terminal
As POS key layout creation is completed, let us create POS terminal now. This terminal holds all the common details like bank account, key layout, cash book, etc..
1. Open “POS terminal” window and create new Terminal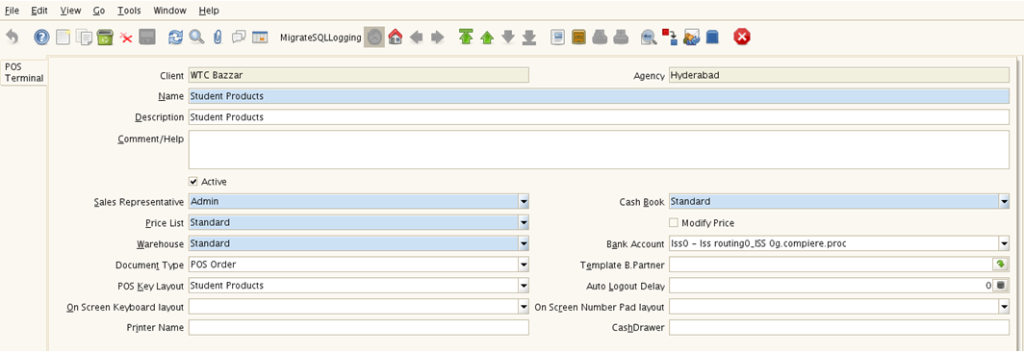
Name: You can choose any name
Sales Representative: Sales person configured in Adempiere, who will have access this terminal.
Price list: Price list of product. It holds details like currency.
Warehouse: Represents the location of product, helps to track and update inventory
Document type: Selects the type document, select POS Order
POS key layout: Select POS Layout that was mentioned in previous step
Cashbook: Cash book to accept receipts for cash based transactions
Note :
Price List currency and Cash Book currency must be same (as shown in below image).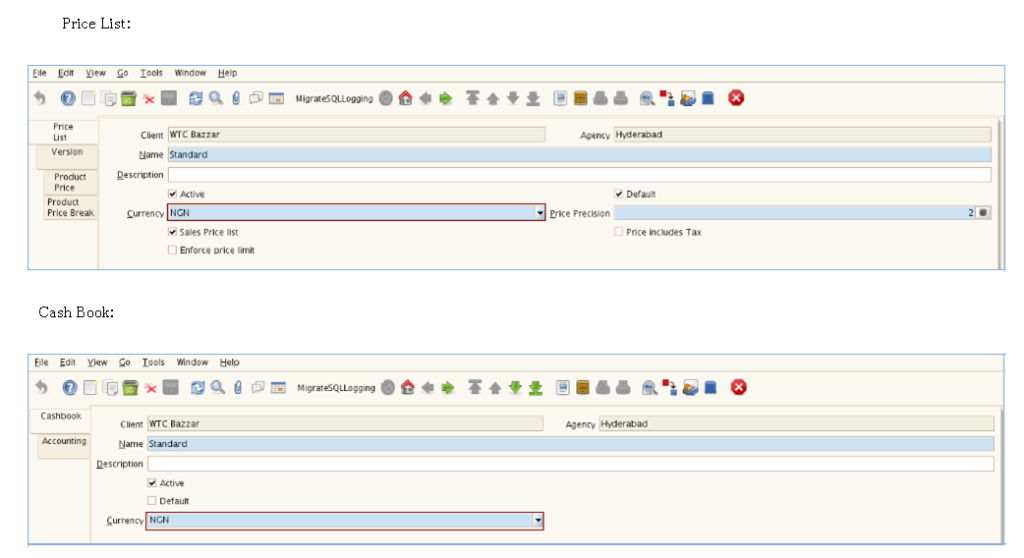
Step 4: First look at POS terminal
As you successfully configured POS terminal now you can open POS terminal and see how it appears
1. Log out of application
2. Login with user(Sales Representative ) mentioned in POS Terminal
3. Open POS window, it prompts for Terminal then select the terminal that was configured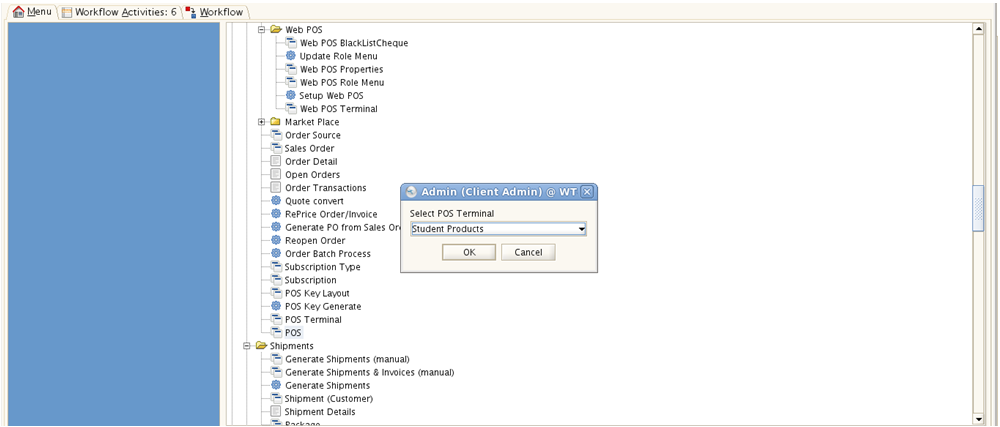
4. Now POS window is opened and it shows list of products we have selected and it appear as per the configuration mentioned in layout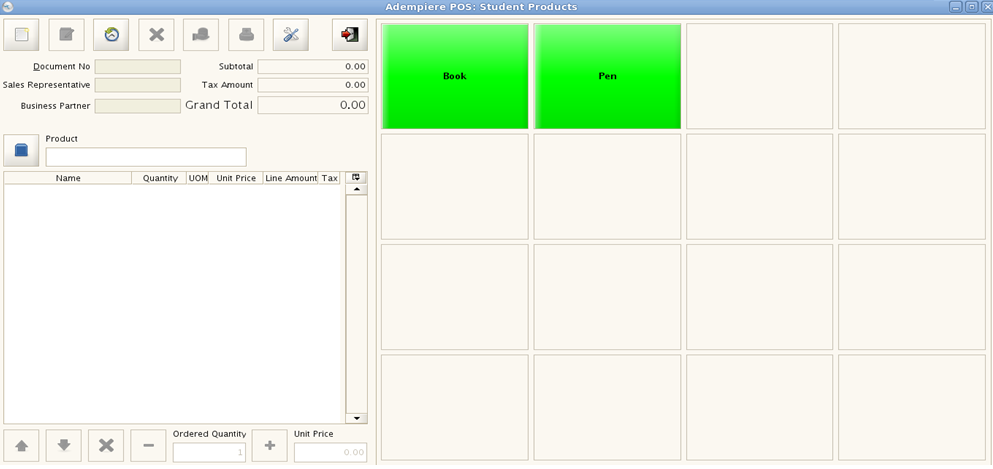
5. Let us look at use of each button in top tool bar of POS terminal
6. Let us look at use of each button in bottom tool bar of POS terminal
7. Let us see how ‘History Records’ button will work
On click of ‘History Records’ button following window appears, then enter the date in ‘Date Ordered’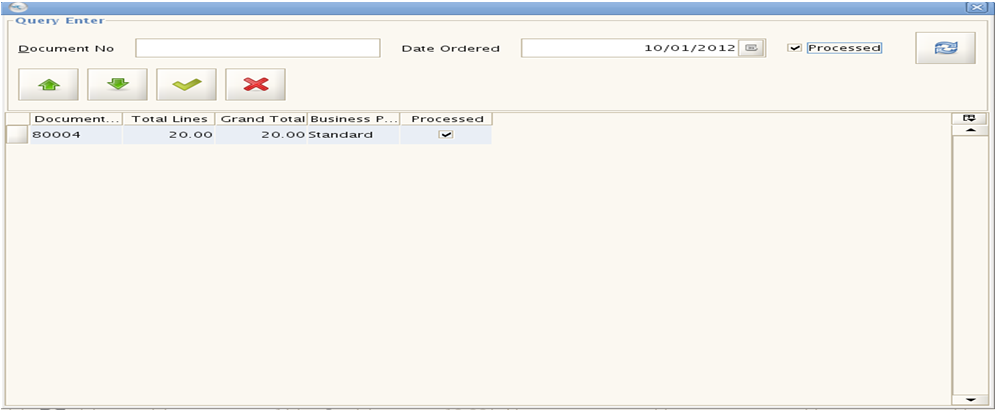
If there are no processed records on selected date, then nothing will appear.
Step 5: Create new POS transaction
1. Click on new record, it automatically populates standard business partner
2. Select product(s), which are available on right side. For example, we have selected Book and Pen with quantity 1 and 2 respectively
3. Click on Payment button to pay the amount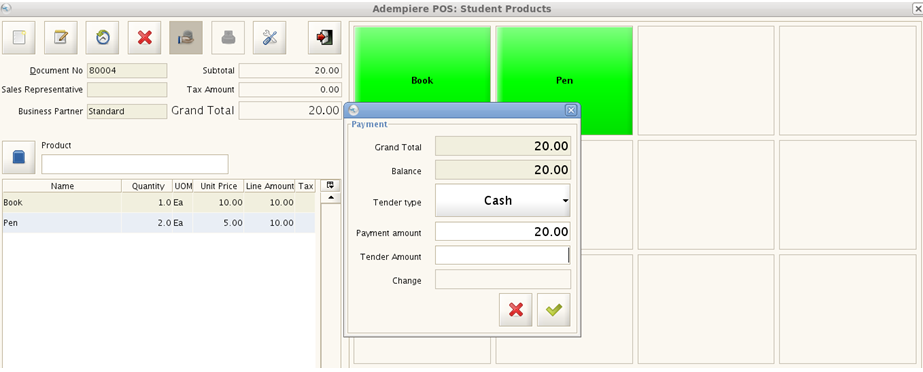
4. Enter The Tender Amount ( payable amount ) and Click on OK button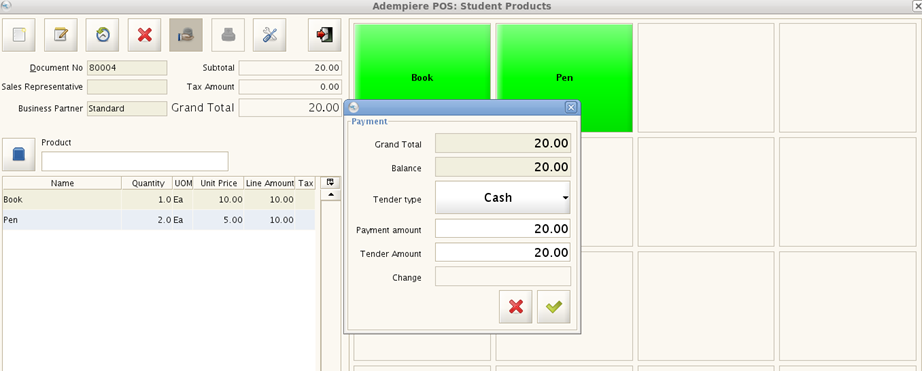
5. After paying amount terminal is ready for another entry, user has to click on ‘New Record’ button again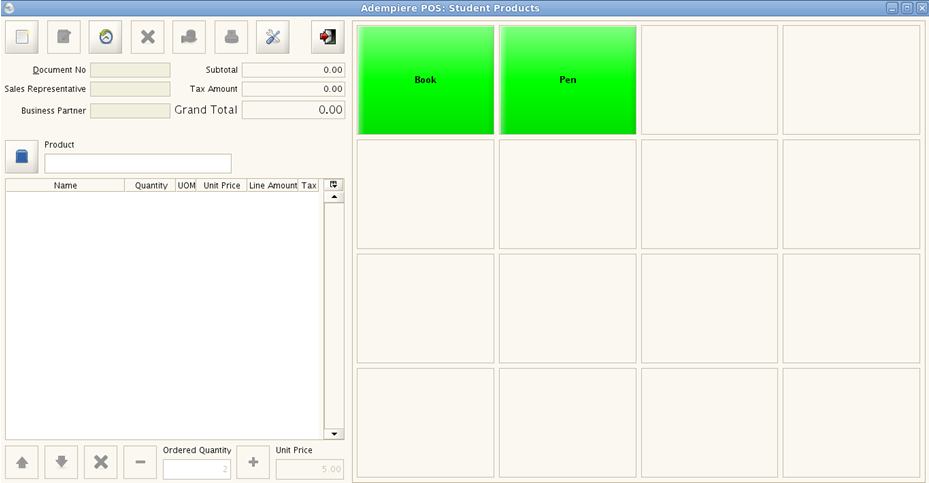
Step 6: What happened in back end
You might have observed that creation of POS transaction does not take even a minute. Now we will be more interested to see what happened in the back end and what kind of transactions are created in backend and whether it standard sales process
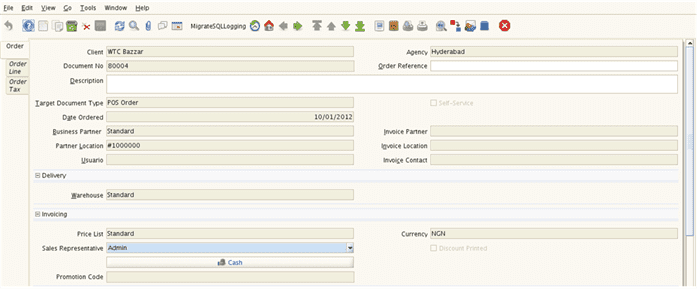
1. Check whether sales order is created, open sales order window and verify whether a new sales order is created or not.

2. Check sales order line to see whether selected products are created with mentioned quantities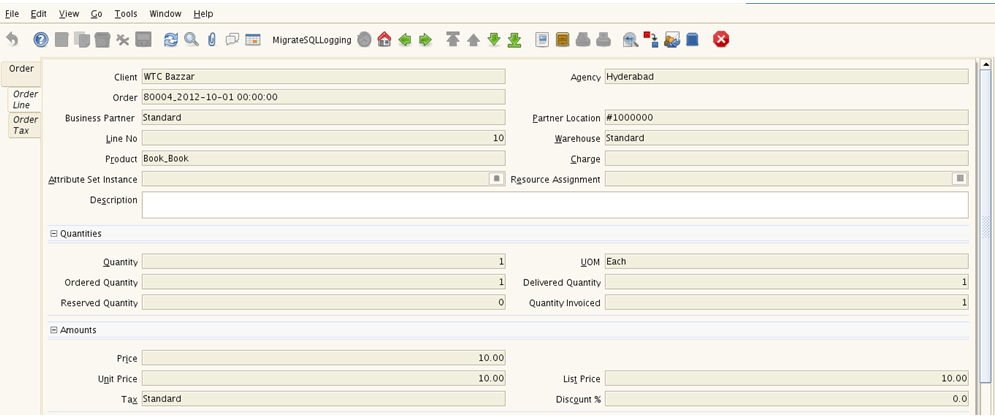
Notice that the Book Order line has quantity one. Similarly PO Order line has two items.
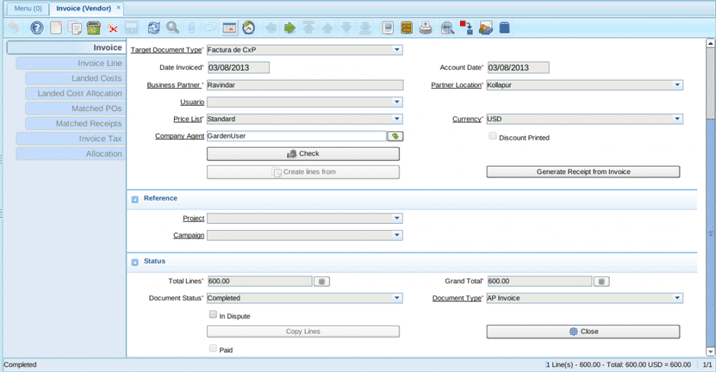
2. Check whether sales invoice is created or not
3. Check account posting
4. Check creation of receipt in the system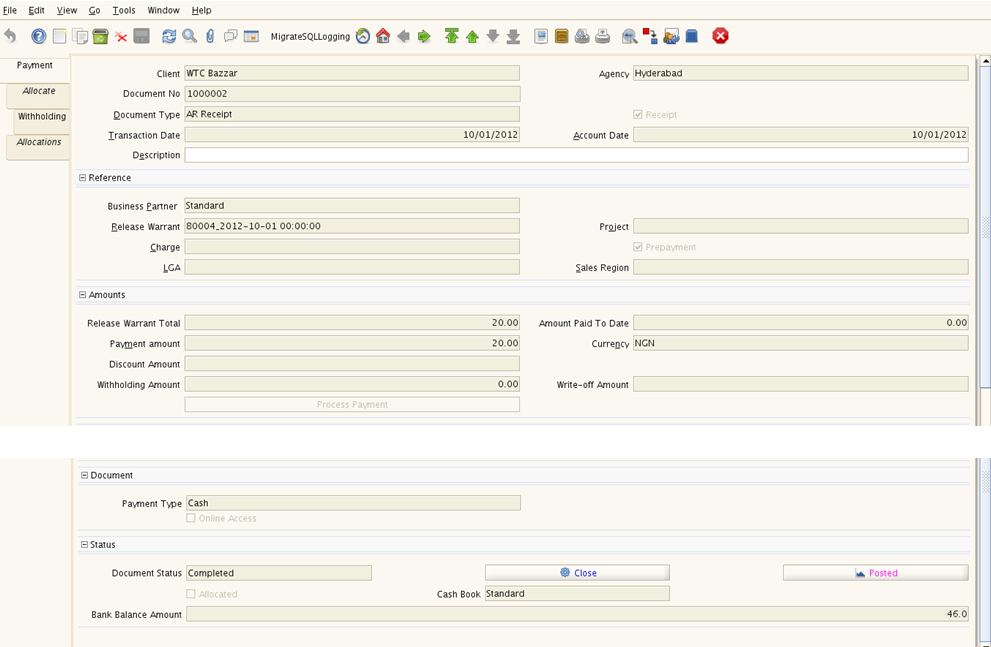
Summary
I hope you have enjoyed reading this article and now you are able to setup PoS system for your business. By using Adempiere POS, the Business owners can achieve standard business processes with minimal and faster data entry. Posterita has contributed a lot into this and you may like to visit Adempier’s document to have the complete understanding of true power.
Walking Tree promotes Adempiere and we support the users as well as the developers to ensure that the business is able to take complete advantage of Adempiere’s wonderful capability. In case you are looking for a professional assistance then do visit our website to get in touch with us.
References
- http://www.adempiere.com/Java_POS
- http://www.adempiere.com/POS_Systems
- http://www.youtube.com/watch?v=g-YA4vhRKqY
- http://www.youtube.com/watch?v=2EFCjT3xrZc
- http://www.adempiere.com/images/a/a1/POS-Diagram.png


