Blogs
PackOut and PackIn (2Pack) In ADempiere
Problem Statement
All of us are aware of the fact that majority of the requirements in ADempiere can be fulfilled through configuration changes. This kind of design is in tune with latest leading ERP products and it saves lot of development effort. But in SDLC, configuration changes will done in one environment and those changes needs to migrated to another environment as part SDLC. In general from Development to QA and then to Production. Number of environments that this migration will be required will vary based on the process that the company follows. But there is a need to migrate configuration changes seamlessly, without much effort from development or deployment team.
ADempiere has very good feature to fulfil this requirement and community calls it 2Pack.
Scope of Article
This article covers, detailed steps to migrate ADempiere configuration changes from one environment to another.
Technology
Adempiere 3.42 or above
Implementation Detail
2 Pack runs with simple concept of export and import, where required data will be exported from source environment and it will be imported into target environment. In Adempiere, export of data is called ‘Packout’ and Import of data is called in ‘Pack in’. In this document often we will be using these words.
Here we take an example migrating ‘Performance Management’ feature into target environment.
Step 1: Creating PackOut
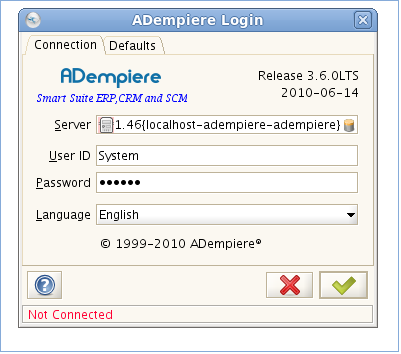
- Login as ‘System’ user into source environment

- Open ‘PackOut’ window at Application dictionary->Application Packing
- Click on ‘New’ button to create package
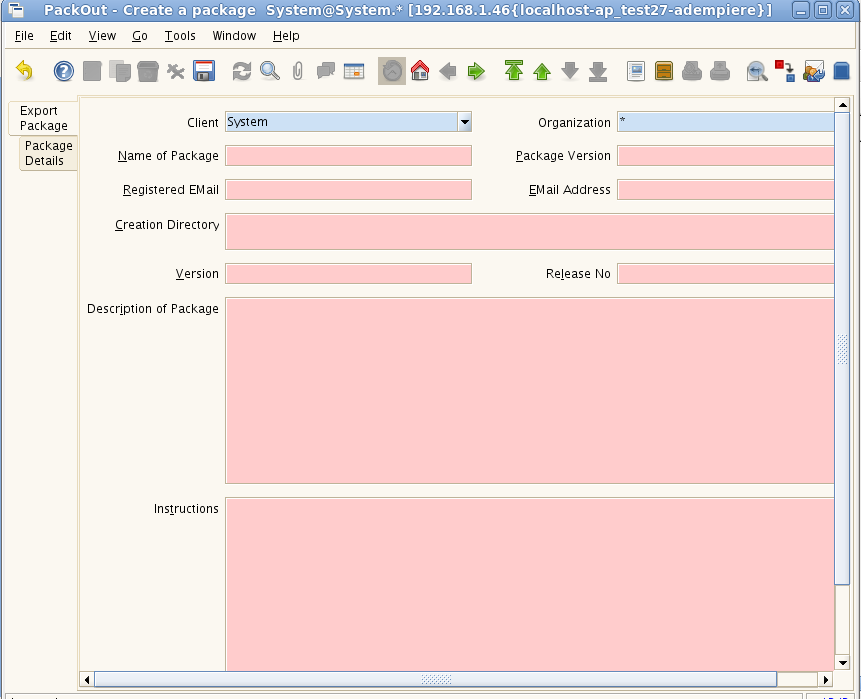
- Enter mandatory fields
- Name – You can put the name relevant to feature. But make sure there are no spaces between words.
- Package Version – To maintain version of the package. You can type relevant number.
- Creation Directory – Valid directory name, this is where the exported document will be created.
- Rest of the fields are mere place holders and they do not have much significance in this context
- Now go to Package Details Tab and click on new.
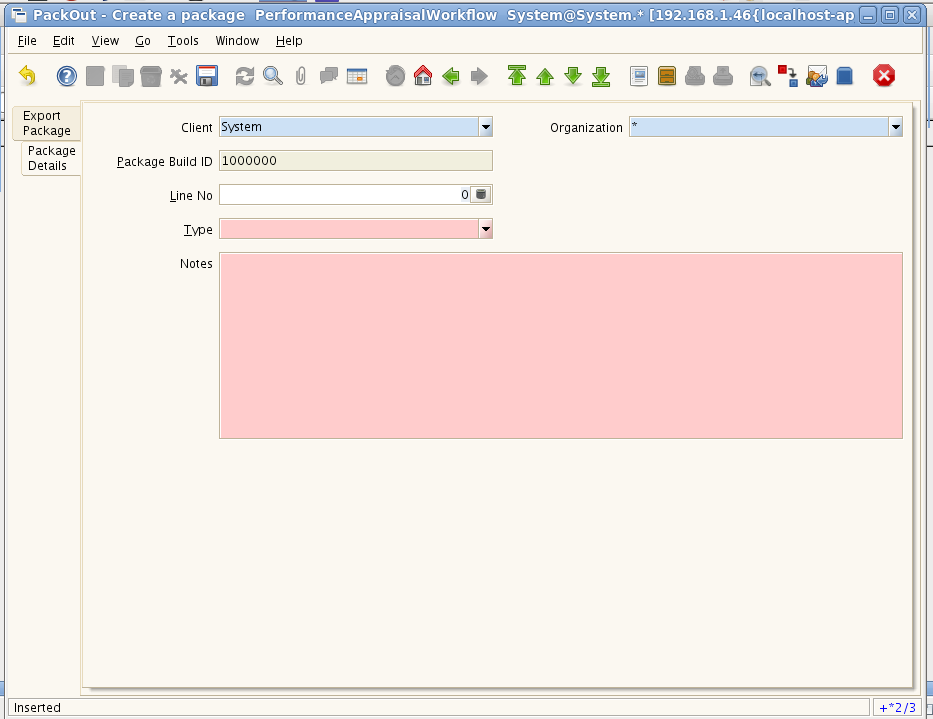
- Line No – Indicates order of packaging and it shows one or more modules can be exported in single go.
- Type – Indicates ADempiere entity that will be exported in this step. Following table shows the some of options available and their usage.
- Note – Brief description about the module or entity that is being exported.
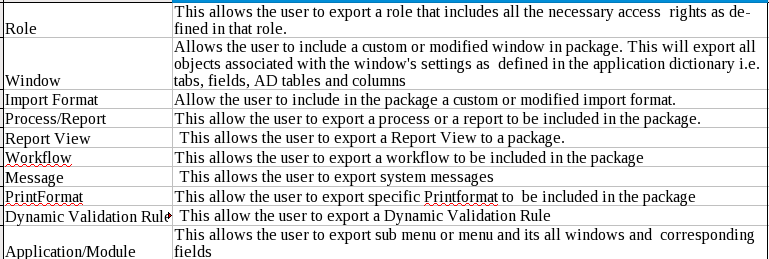
- As mentioned in previous step we want to export, performance appraisal module, in source environment, performance module will look like as follows

- In package details tab select ‘Application/Module’ in type and select ‘Performance Appraisal’ in menu drop down and add brief notes.
- Above configuration will allow to export all windows for the module and related content
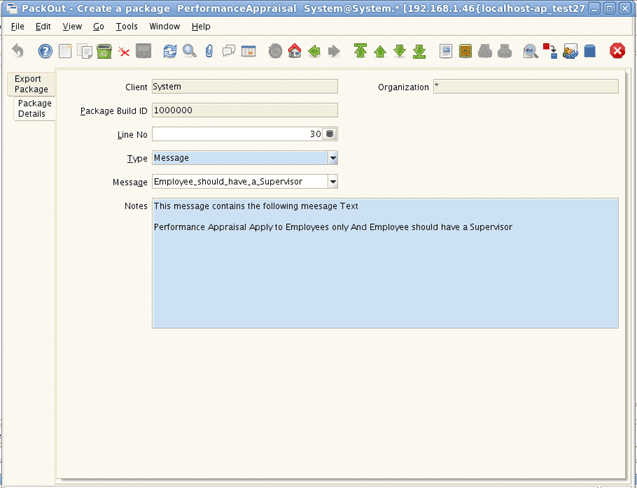
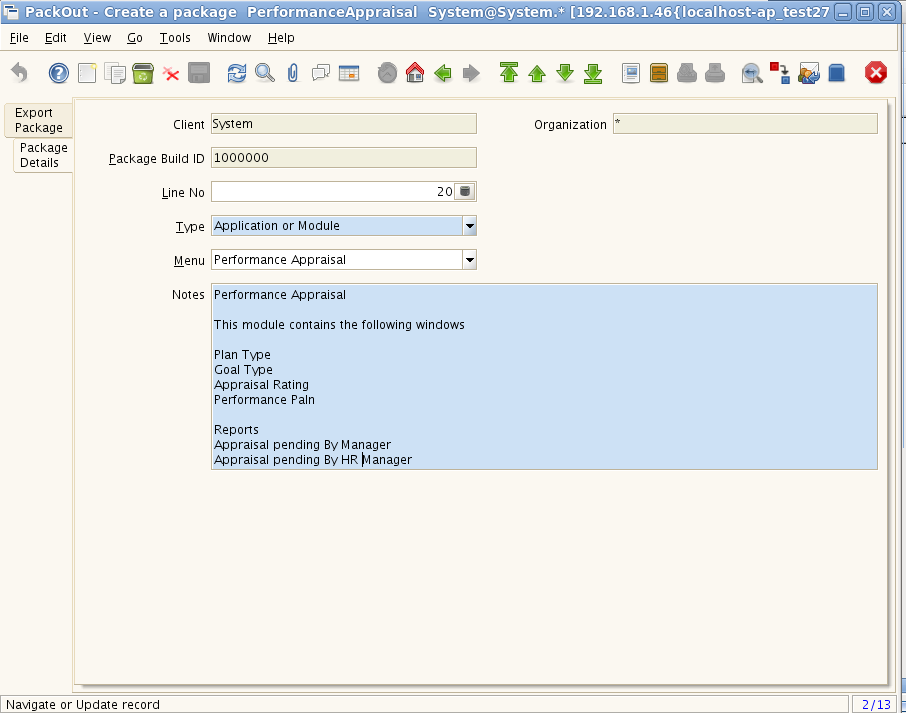
- Now let us export some messages related to this module, click on ‘new’ button ‘Package Details’ tab and configure message that needs to be exported
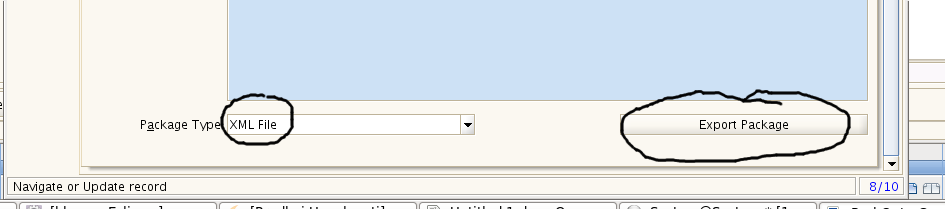
- Go back to ‘Export Package’ tab, it has ‘Package Type’ set to ‘XML File’ , now click on ‘Export Package’ button
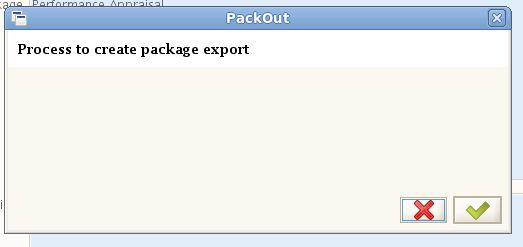
- After click on Exported package you get following pop up, say OK.
- Once export is completed it shows “Finish Process” message in message bar of window
- Verify the content in ‘Creation Directory’, It will have three directories.
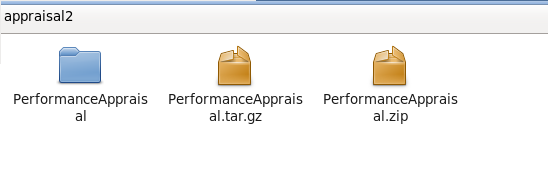
- All those files contains same data and we will be using .zip file for our next steps.
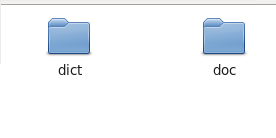
- When we extract .zip file it will have following directories.
-
-
- Dict: It contains “PackOut.xml”. This file contains all the necessary data dictionary settings to create module.
- Doc: folder contains the .XML file. This file includes the package details which we configured in Export Package Tab. We are done with Pack Out-Creation, that means we successfully exported configuration details into desired directory
-
Step 2: Creating Packin
As we have configuration data ready to import to target environment, let import it
- Login as ‘System’ user into source environment
- Open ‘Packin’ window at Application dictionary->Application Packing and enter required details.
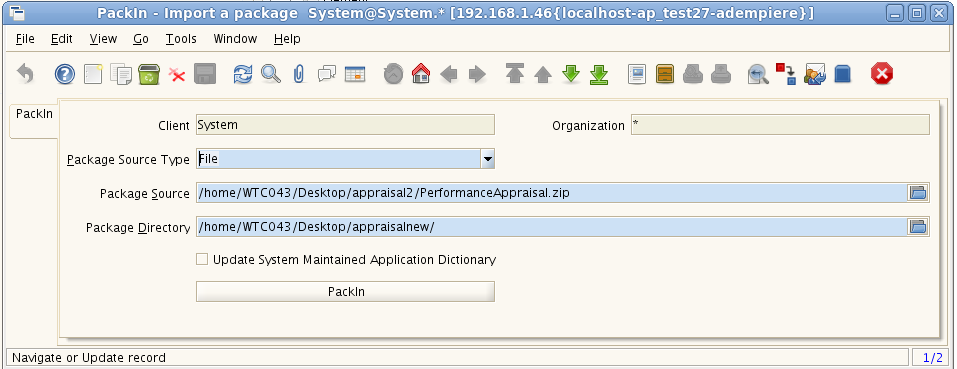
- Package Source Type : Select ‘File’.
- Package Source : Give full path of zip file we have created in packout step.
- Package Directory : Provide a valid directory where Packages Directory will be created after successful PackIn.
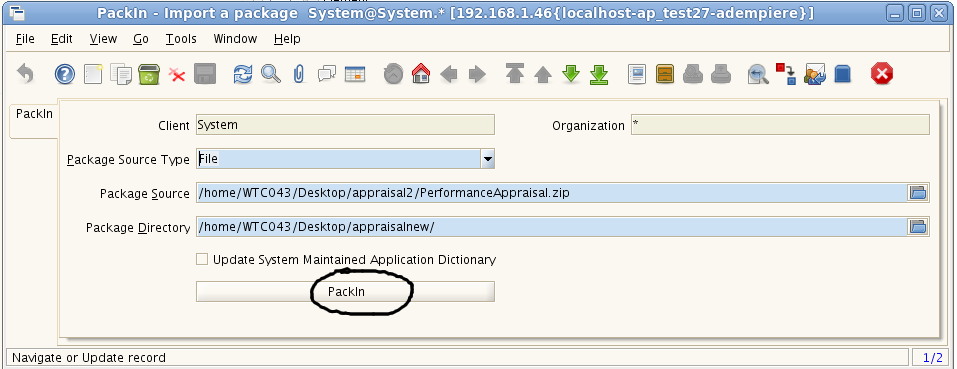
- Now Click on PackIn button. PackIn Process will be starts. After successful PackIn Process it gives the message OK at left bottom of window.
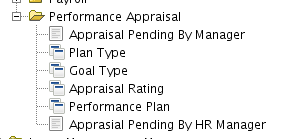
- Now login to application with role which has access to new module, you can see imported module
Summary:
With 2 Pack feature, we are able to successfully migrate configuration changes from source environment to target environment by following simple steps. By using Packin and Packout functionality we can migrate all the configuration changes from one environment to another environment.
Walking Tree promotes Adempiere and we support the users as well as the developers to ensure that the business is able to take complete advantage of Adempiere’s wonderful capability. In case you are looking for a professional assistance then do visit our website to get in touch with us.
References:
http://www.adempiere.com/ManPageW_PackIn-Importapackage