Blogs
OpenAI Integration in Angular: Maximizing Potential with Large Language Models
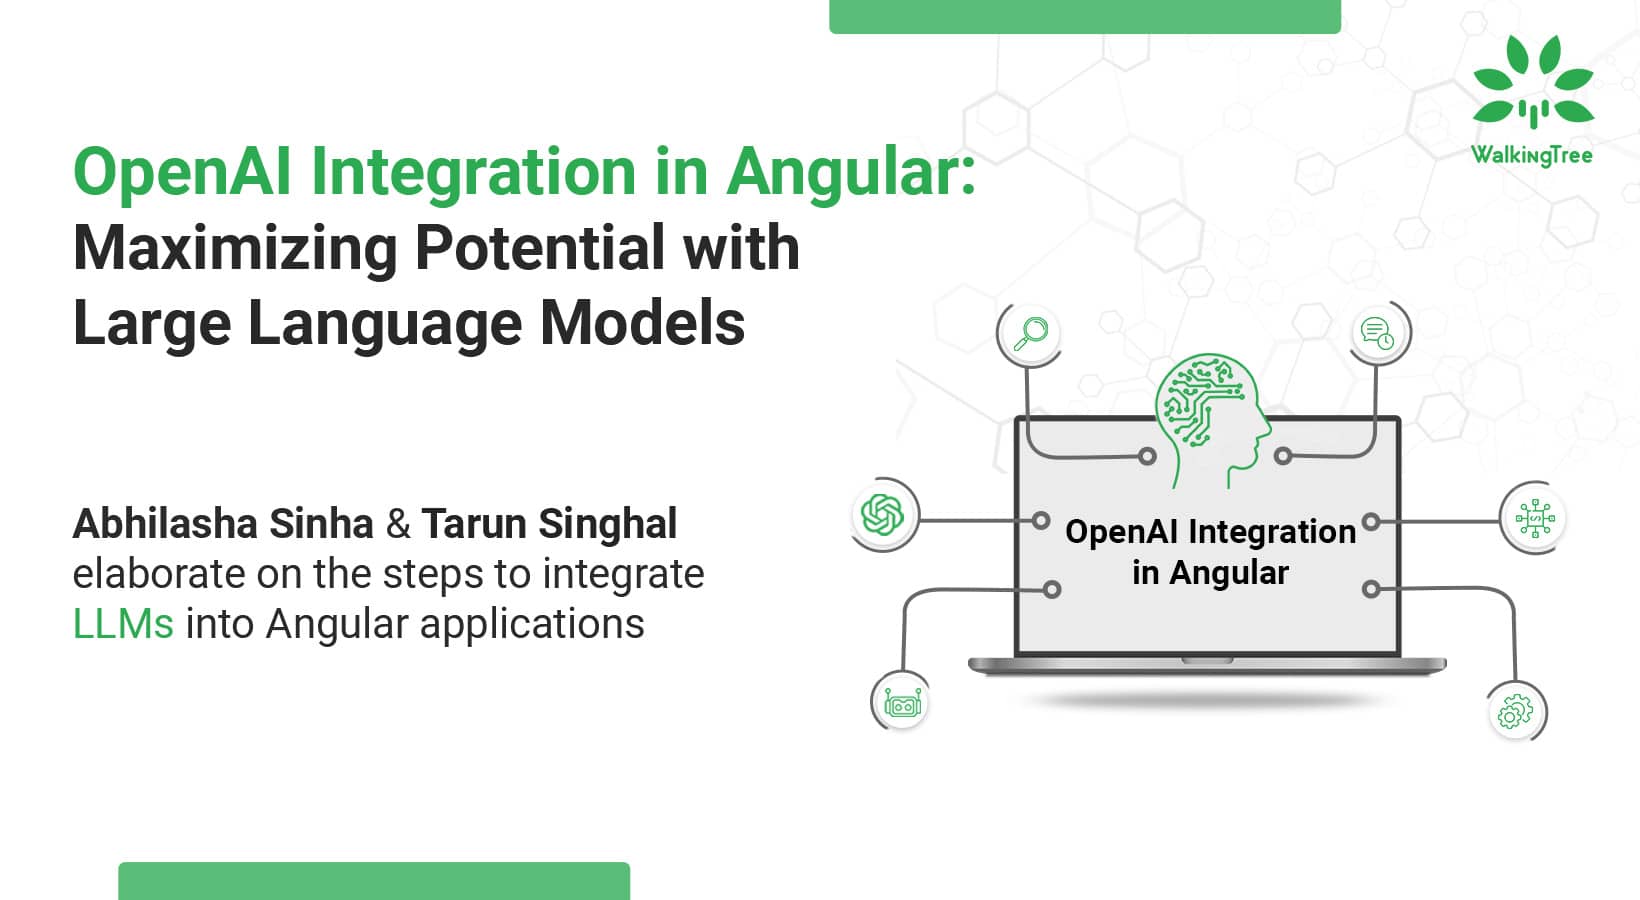
In the dynamic landscape of web development, Angular has emerged as a powerful framework for building robust and feature-rich applications. With the rise of Artificial Intelligence (AI), integrating Large Language Models (LLMs) into Angular applications has become a game-changer, unlocking a multitude of possibilities and functionalities. Harnessing the power of LLMs within Angular applications not only enhances their capabilities but also introduces new dimensions of interaction and intelligence. From streamlining user experiences to automating tasks, the integration of LLMs offers unparalleled potential, revolutionizing how we interact with and perceive Angular applications.
|Integration of LLMs into Angular applications: An overview of use cases
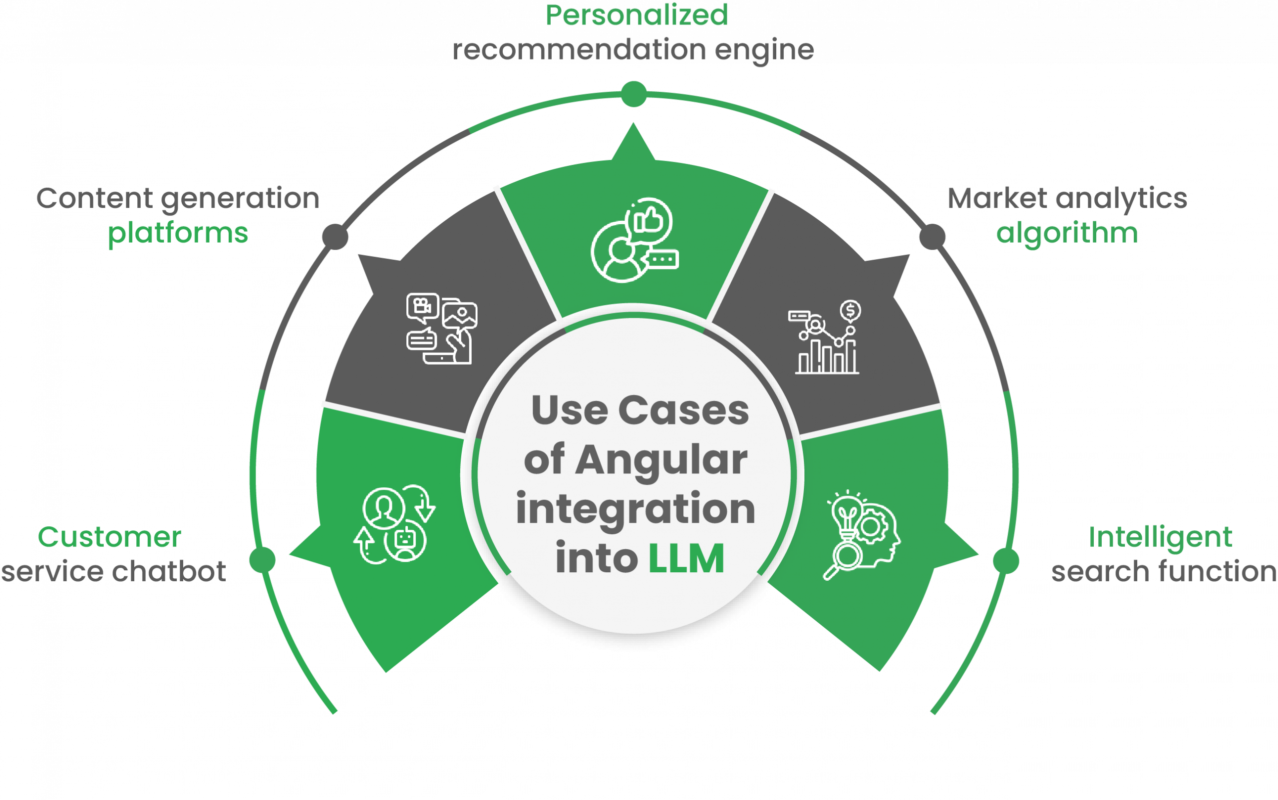
The integration of LLMs into Angular applications presents a myriad of potential use cases across various industries and domains. One such use case is in customer service applications, where AI-powered chatbots can provide real-time assistance to users by generating responses to inquiries or providing relevant information based on user queries. Additionally, in content generation platforms, Language models can be leveraged to automatically generate summaries, articles, or product descriptions, streamlining content creation processes and improving efficiency. Furthermore, in e-learning platforms, OpenAI and other Language models can assist learners by providing personalized recommendations, generating quiz questions, or even creating interactive learning materials tailored to individual learning styles.
Moreover, in financial applications, AI-powered algorithms can analyze market trends, predict stock prices, or assist in fraud detection, empowering investors and financial institutions with valuable insights. By leveraging powerful language models, Angular apps can implement advanced search functionalities that go beyond keyword matching. With AI-driven search, users can input natural language queries and receive highly relevant results, even when the query is in natural language. This capability enhances user experience by providing more intuitive and accurate search results, ultimately leading to increased user satisfaction and engagement. Overall, the integration of LLMs like OpenAI’s models into Angular applications opens up a multitude of possibilities for enhancing user experiences, optimizing workflows, and driving innovation across diverse sectors.
|Integration of LLMs into Angular applications: Step-by-step process
Now we’ll walk through the step-by-step process of seamlessly and quickly integrating OpenAI into your Angular applications directly from the frontend layer by invoking the OpenAI service. This is a fast way to test out your solution/POCs by accessing OpenAI from the frontend. This logic of accessing the OpenAI API should be moved to the server layer(NodeJS/Python) once you decide to use this solution for enterprise applications to ensure optimum security. This approach is recommended for quick solution proof of concept.
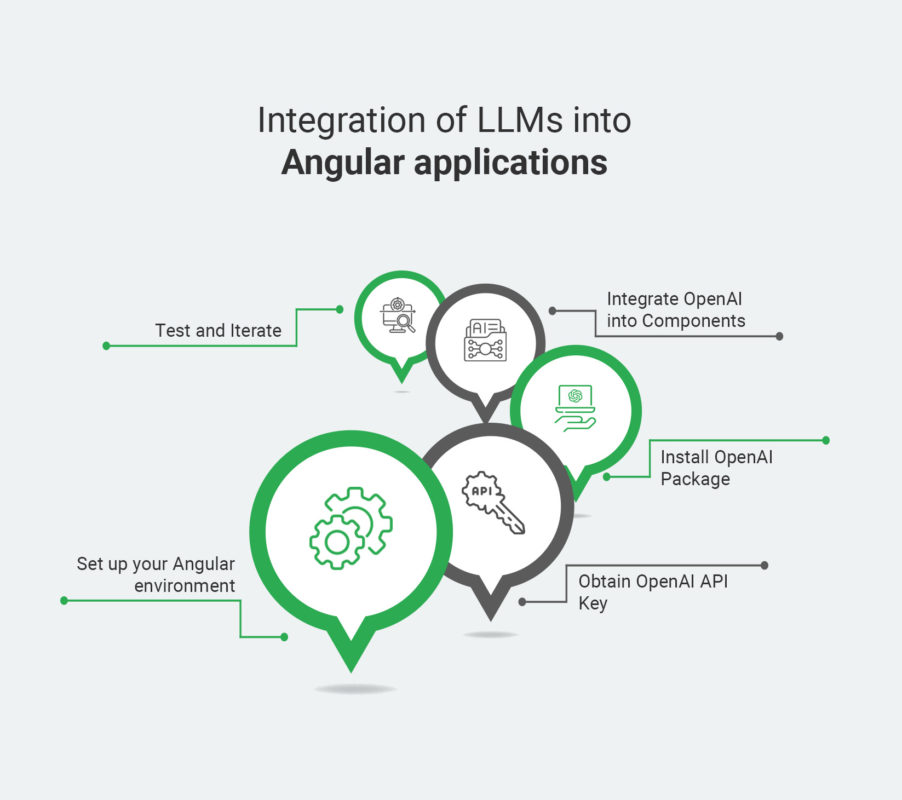
Step 1: Set Up Your Angular Environment
Before integrating OpenAI into your Angular app, ensure you have a stable development environment set up. Install Node.js and Angular CLI if you haven’t already, and create a new Angular project using the CLI commands.
ng new angular-openai-demo
Step 2: Obtain OpenAI API Key
To access OpenAI’s powerful models, you’ll need an API key. Sign up for an account on the OpenAI platform and obtain your API key. This key will authenticate your requests to the OpenAI API.
Follow the below steps:
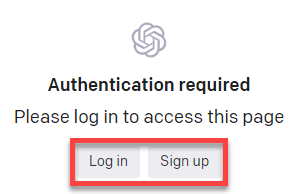
1. Login or sign up to the OpenAI platform.
2. Click Create new secret key.
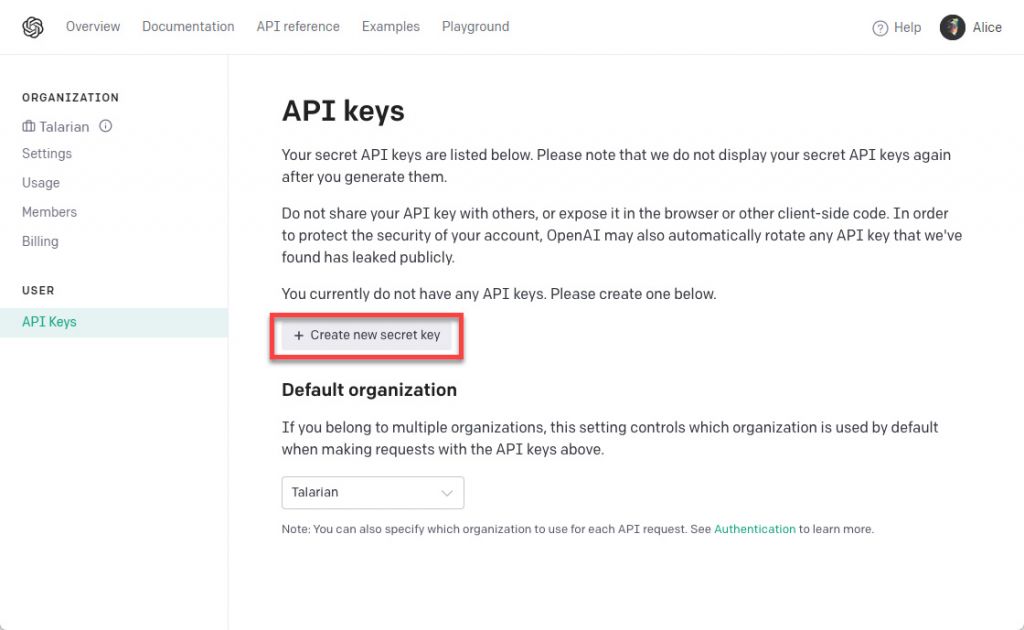
You can check that your key is working by running a prompt in the playground. If your free trial is expired, inactive, or not working, you must set up a paid account in the billing dashboard.
3. Copy your key to your clipboard

Step 3: Install OpenAI Package
Next, install the OpenAI package in your Angular project using npm or yarn. Run the following command in your project directory to install the package:
```bash
npm install openai
```
This package allows you to interact with OpenAI’s API seamlessly from within your Angular app.
Step 4: Integrate OpenAI into Components
You can use the same in your component as shown. The below example is for a text-based search which is being handled to convert the text search into a structured query format which can be used to derive the search results.
App-component.html
 <div class="container-fluid">
    <a class="navbar-brand" href="#">Demo LLM</a>
    <button class="navbar-toggler" type="button" data-bs-toggle="collapse" data-bs-target="#navbarNavAltMarkup"
      aria-controls="navbarNavAltMarkup" aria-expanded="false" aria-label="Toggle navigation">
      <span class="navbar-toggler-icon"></span>
    </button>
    <div class="collapse navbar-collapse" id="navbarNavAltMarkup">
    </div>
  </div>
</nav>
<div class="card text-center">
  <div class="card-body">
    <div>
      <form (ngSubmit)="search()">
        <label class="form-label">
          Enter text: </label>
        <input class="form-control" type="text" [(ngModel)]="textInput"     name="textInput" />


        <button type="submit" class="btn btn-primary mt-2">Submit</button>


      </form>


    </div>
</div>
  <div *ngIf="output" class="card-footer text-muted">
    <div *ngFor="let chat of chats" class="card">
      <p>Query</p>
      <pre>
          {{chat.question}}
        </pre>
      <p>Response:</p>
      <pre>{{ chat.answer }}</pre> <!-- Display the response data -->
      <div class="row m-2">
        <div class="col-12">
          <ul class="nav nav-pills mb-3" id="pills-tab" role="tablist">
            <li class="nav-item" role="presentation">
              <button class="nav-link active" id="pills-home-tab" data-bs-toggle="pill" data-bs-target="#pills-home"
                type="button" role="tab" aria-controls="pills-home" aria-selected="true">Tabular</button>
            </li>
            <li class="nav-item" role="presentation">
              <button class="nav-link" id="pills-profile-tab" data-bs-toggle="pill" data-bs-target="#pills-profile"
                type="button" role="tab" aria-controls="pills-profile" aria-selected="false">Graph</button>
            </li>
          </ul>
          <div class="tab-content" id="pills-tabContent">
            <div class="tab-pane fade show active" id="pills-home" role="tabpanel" aria-labelledby="pills-home-tab">
              <app-table></app-table>


            </div>
            <div class="tab-pane fade" id="pills-profile" role="tabpanel" aria-labelledby="pills-profile-tab"></div>
          </div>
        </div>
      </div>
    </div>
  </div>
</div>
App-component.ts
import { Component, OnInit } from '@angular/core';
import { OpenAI } from 'openai';
import { AuthenticateService } from './services/authenticate.service';


@Component({
  selector: 'app-root',
  templateUrl: './app.component.html',
  styleUrls: ['./app.component.css']
})
export class AppComponent implements OnInit {
  title = 'angular-openAI';
  textInput: string = '';
  output: any;


  chats:any = []


  constructor() {}


  async search() {
    const openai = new OpenAI({
      apiKey: 'xxxxxxxxxxxxxxxxxxxxxxxxxxxxxxxxxxxxxxxxxxxxxxx',
      dangerouslyAllowBrowser: true
    });


    try {
      await openai.chat.completions.create({
        messages: [
          {
            "role": "user",
            "content": `You possess expertise in deciphering user intentions from natural language queries and transforming them into a JSON structure with payload, showcasing the entity and its corresponding value for filtering a MongoDB collection.

            The various Filter option availble are STATUS, START_DATE, END_DATE,OPPURTUNITY, PREPARED_BY, PROPOSAL_ID

            Now given the user query understand the user intention from it and format the same into a json structure identifying the entity that needs to be filtered upon, based on the above filters available.

            For example:
            #######
            If the user query is : "Fetch me all the proposals which are management reviewed and are completed by 15 of this month"
            Output Json should be like: {{"search":"DRAFT",searchCriteria":"STATUS"}}

            Strictly follow the sample format while returning the response.

            For any Date time related queries, remember that the current date time is ${Date.now()}

            The User Input is ${this.textInput}
            The output json is :`,
        },
        ],
        model: 'gpt-3.5-turbo',
      }).then((value)=>{


        this.output = value.choices[0].message.content
        const chat = {
          question: this.textInput,
          answer: this.output
        }
        this.chats.unshift(chat)
      })
    } catch (error) {
      console.error('Error occurred while fetching API response:', error);
    }
  }
}
This way we can use the OpenAI service in our Angular components to interact with the OpenAI APIs. Inject the OpenAIService into your component constructor and call the openai.chat.completions. Create a method to generate text based on a prompt.
Step 5: Test and Iterate
Once your integration is complete, test your Angular app to ensure everything is functioning as expected. Experiment with different prompts and parameters to leverage the full potential of OpenAI’s capabilities. Iterate on your implementation based on feedback and performance considerations. ases and Innovations
|Conclusion
By following this step-by-step guide, you can seamlessly integrate OpenAI into your Angular front. This can be used to quickly interface and interact with OpenAI to get started. The recommended approach for production will be interacting with the OpenAI APIs through the backend layer through custom APIs defined in nodejs or python, which are then consumed by the front end. Integrating OpenAI into Web applications opens up a world of possibilities for developers. From generating text to automating tasks, the power of AI-driven models enhances user experiences and adds intelligence to your applications.


