Blogs
Combining SageMaker Pipelines with SageMaker Projects
In the previous blog, we discussed SageMaker pipelines and how they can be implemented using notebooks in SageMaker Studio.
In this blog, we will see how pipelines can be combined with SageMaker projects and what benefits this approach provides. This blog is also centred around the deployment of the customer churn prediction model, as was the case before, but the implementation is done as part of projects in this case. To revisit the model and connect with Studio, please refer to ‘The Customer Churn Use Case’ and ‘Getting Connected with AWS SageMaker Studio’ sections from the previous blog.
The blog is organized as follows :
- SageMaker Projects
- Customer Churn Model Deployment with Projects
- How do Projects add Value?
- Conclusion
1. SageMaker Projects
SageMaker projects are a product provided by AWS Service Catalog, which can be used for the creation of end-to-end ML solutions with CI/CD.
They come with a SageMaker-provided template, one or more repositories for the building and deployment of ML solutions, a SageMaker pipeline with steps for data preprocessing, training, evaluation and deployment, a CodePipeline pipeline which runs pipeline every time a new version of the code is checked in and a model group which contains model versions.
In the next section, we illustrate how these components are used together by taking up the deployment of the Customer Churn prediction model.
2. Customer Churn Model Deployment with Projects
The steps to create and deploy the customer churn prediction model as part of a SageMaker project are delineated below :
1. Connect to Amazon SageMaker Studio. As mentioned above, please refer to the previous blog for the detailed steps.
2. From the Components and registries menu (bottom-most option on the left bar), click on Projects and then ‘Create Project.’
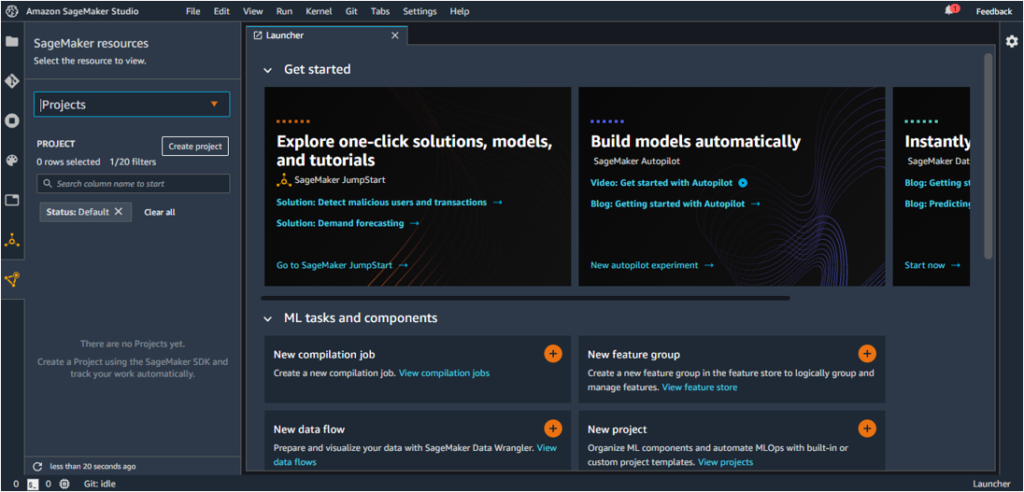
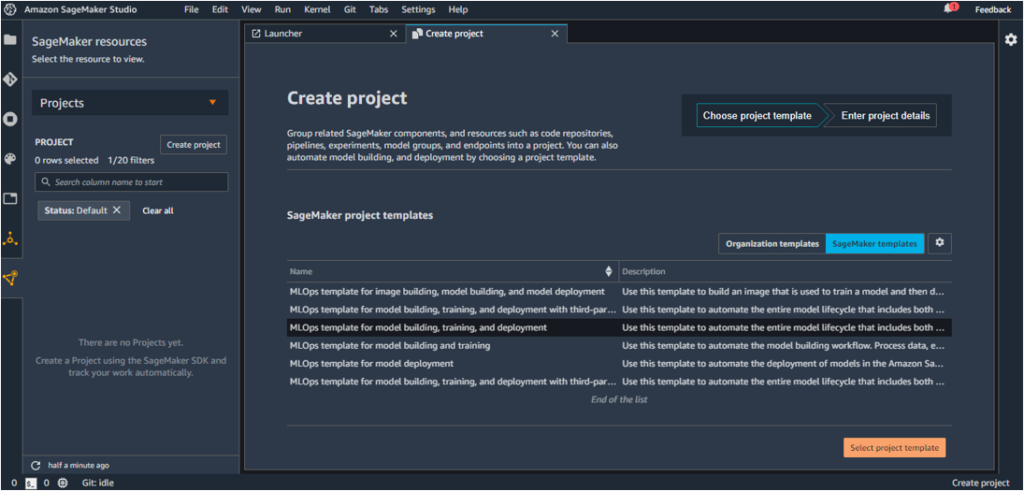
This opens the Create Project page, which lists a number of project templates with their description.
The template we will be using for this project is ‘MLOps template for model building, training, and deployment’, as highlighted below.
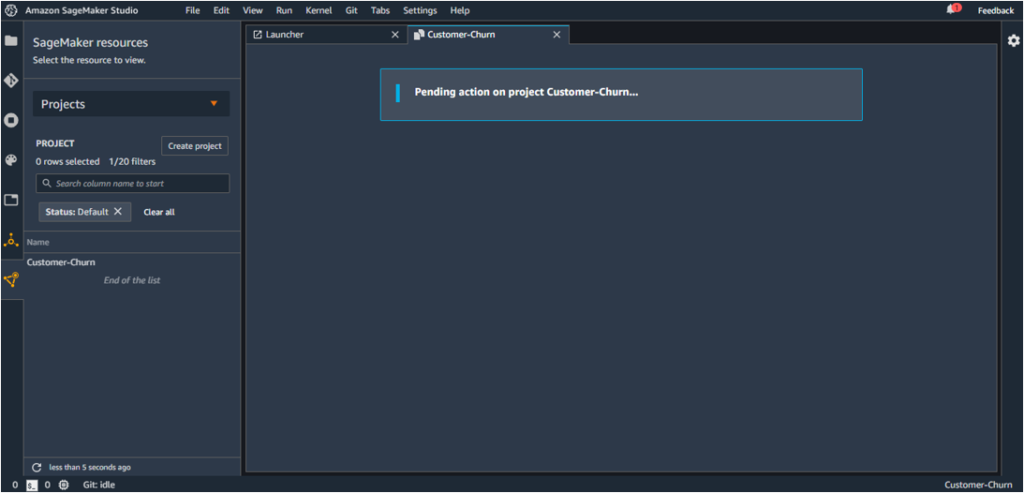
3. Choose ‘Select project template’ and enter a name for the project. In this case, the project is named ‘CustomerChurn’.
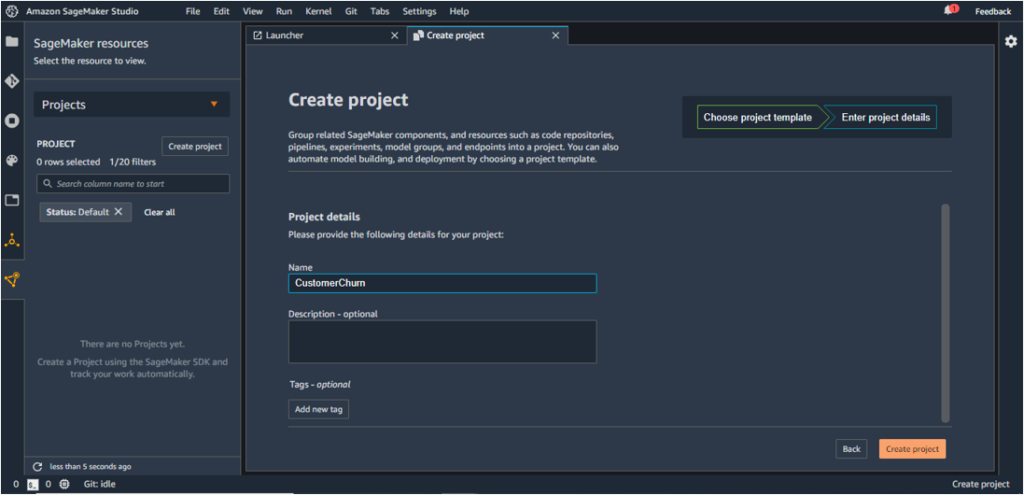
This kicks off the creation of the project which gets completed in a short while
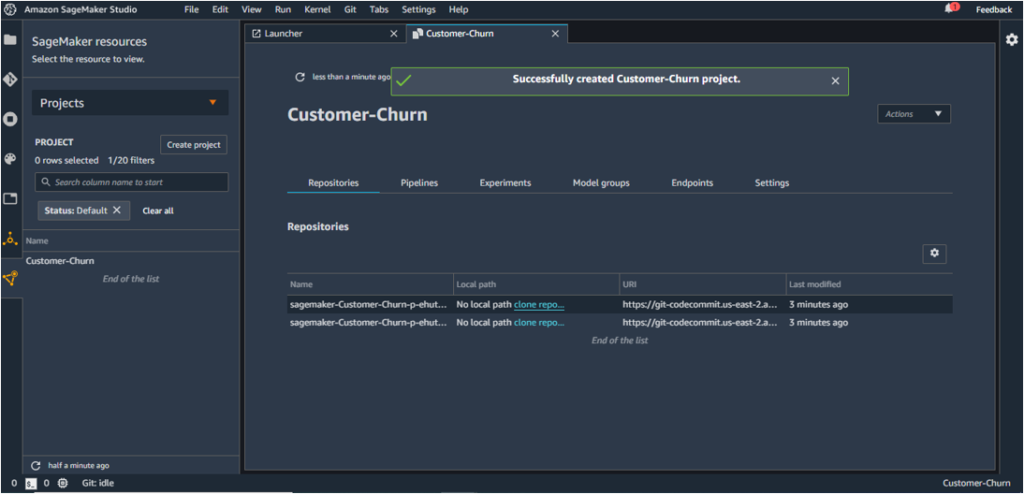
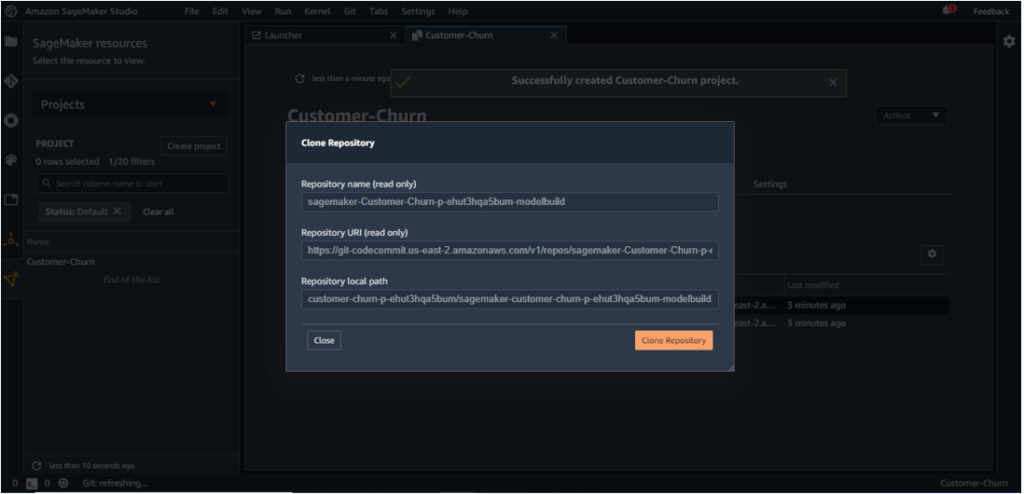
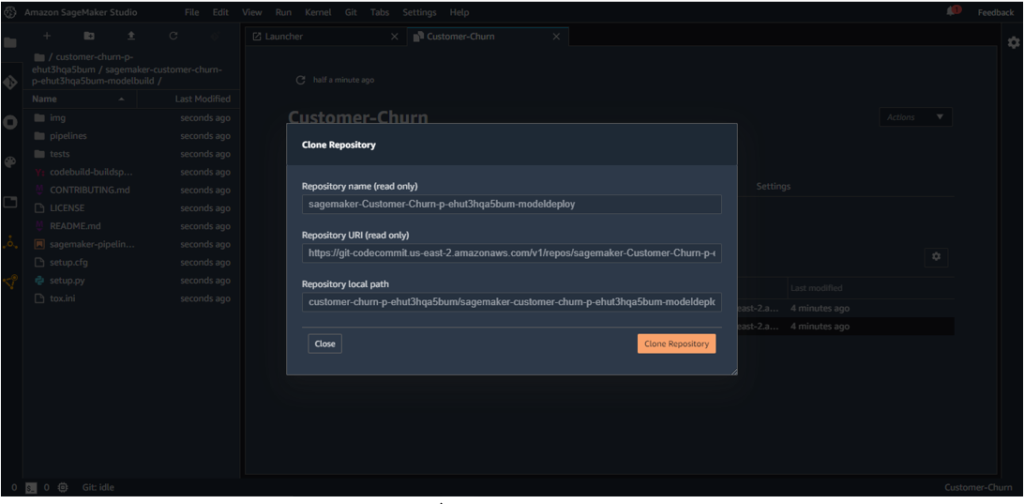
4. The launched template consists of two repositories of sample code, and to update the code, the repositories need to be cloned to the local SageMaker instance. The hyperlinks can be clicked to do the same, as shown below for the two repositories.
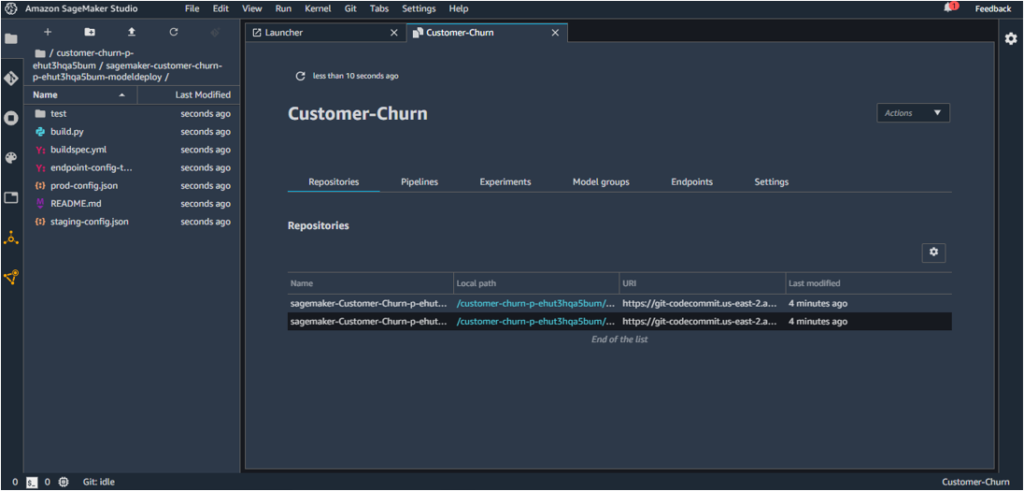
The following architecture [1] is deployed once the project is created using the MLOps template chosen above.
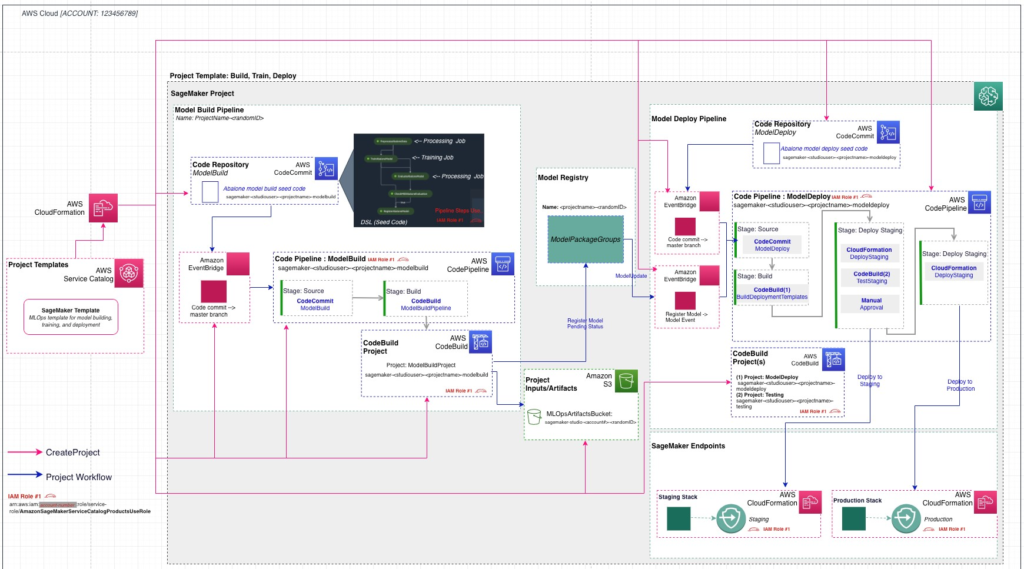
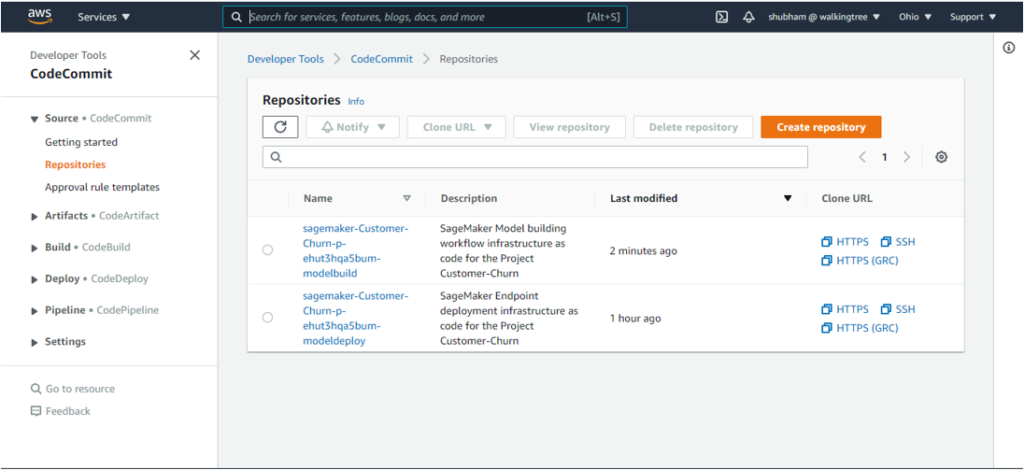
In this process, these two repositories are added to AWS CodeCommit.
(a) Model Build
This contains code for data processing, model training, evaluation, and accuracy-based conditional registration. A build specification file is also available and is used by AWS CodePipeline and AWS CodeBuild for ensuring automatic execution of the pipeline.
(b) Model Deploy
This contains configuration files for deployment of the model, which are used by CodePipeline and CodeBuild for creating endpoints in staging and production.
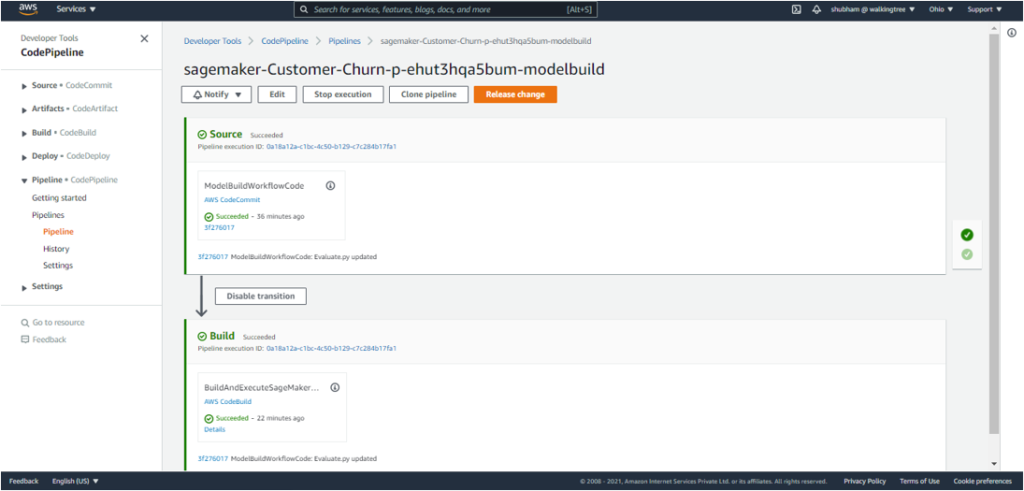
Two Codepipeline pipelines are associated with these two repositories :
(a) Model Build
(b) Model Deploy
CodePipelines, in general, help in automating build, test and deploy phases of one’s release process, when there is a code change, based on the release model specified.
In this case, the two pipelines are invoked/automatically triggered in the following scenarios :
(a) Model Build
Whenever a new commit is made to the ModelBuild CodeCommit repository, the ModelBuild pipeline is automatically triggered and the pipeline is run from end-to-end.
(b) Model Deploy
When a new model is added to the model registry and its status is marked as ‘Approved’, the ModelDeploy pipeline is invoked and the model is deployed to a staging endpoint, and followed by another manual approval step, it gets deployed to a production endpoint.
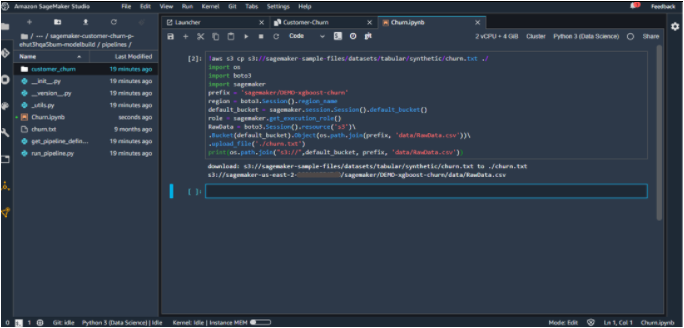
5. Download the Customer Churn dataset available with SageMaker Sample Files and push to S3 repository for further use in the project. This code is taken from [1].
!aws s3 cp s3://SageMaker-sample-files/datasets/tabular/synthetic/churn.txt ./
import os
import boto3
import sagemaker
prefix = 'sagemaker/DEMO-xgboost-churn'
region = boto3.Session().region_name
default_bucket = sagemaker.session.Session().default_bucket()
role = sagemaker.get_execution_role()
RawData = boto3.Session().resource('s3')\
.Bucket(default_bucket).Object(os.path.join(prefix, 'data/RawData.csv'))\
.upload_file('./churn.txt')
print(os.path.join("s3://",default_bucket, prefix, 'data/RawData.csv'))
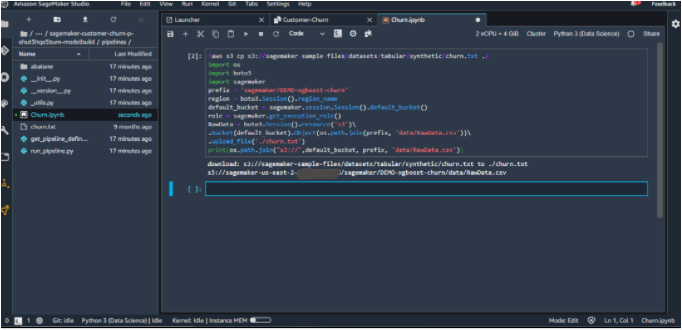
6. Since this is the implementation of the customer churn use case, the abalone directory inside the Model Build Repo should be renamed to customer_churn.
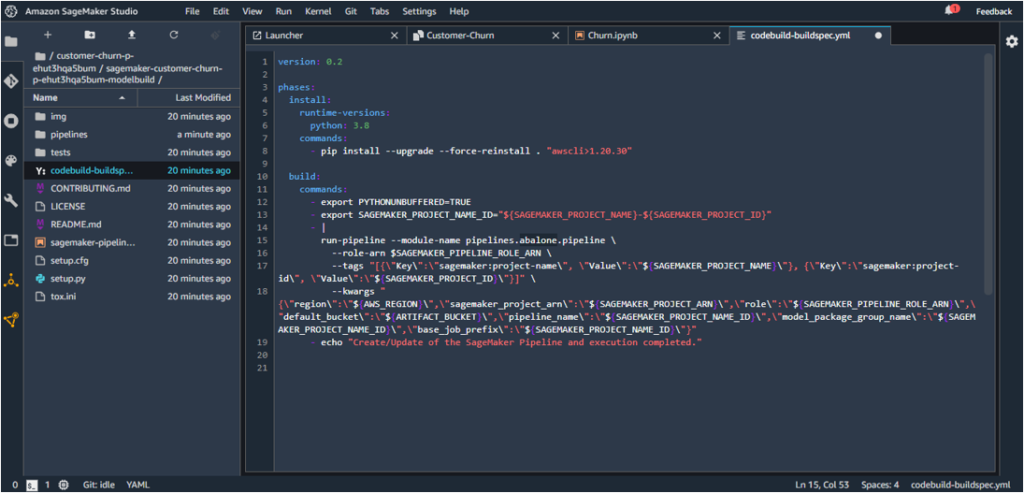
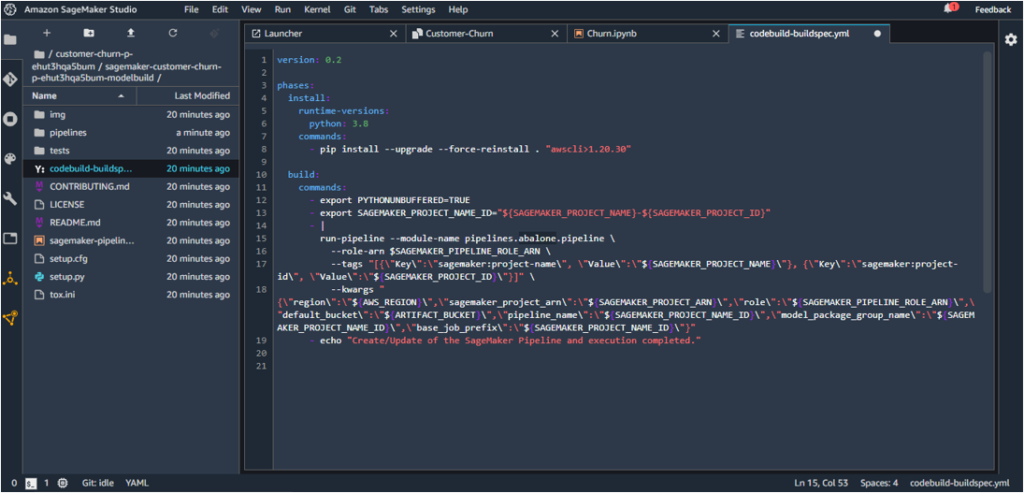
7. The following path inside codebuild-buldspec.yaml:
run-pipeline --module-name pipelines.abalone.pipeline
should be updated to point to customer_churn so as to locate the pipeline.py under the renamed folder.
run-pipeline --module-name pipelines.customer_churn.pipeline
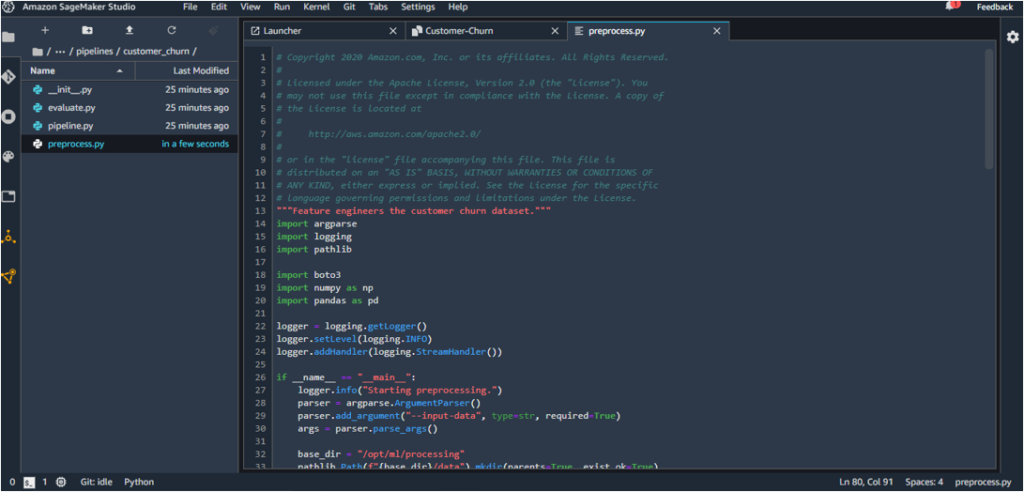
8. The preprocess.py under customer_churn should be replaced with the customer churn preprocessing script available here. This script deals with feature engineering of the customer churn dataset.
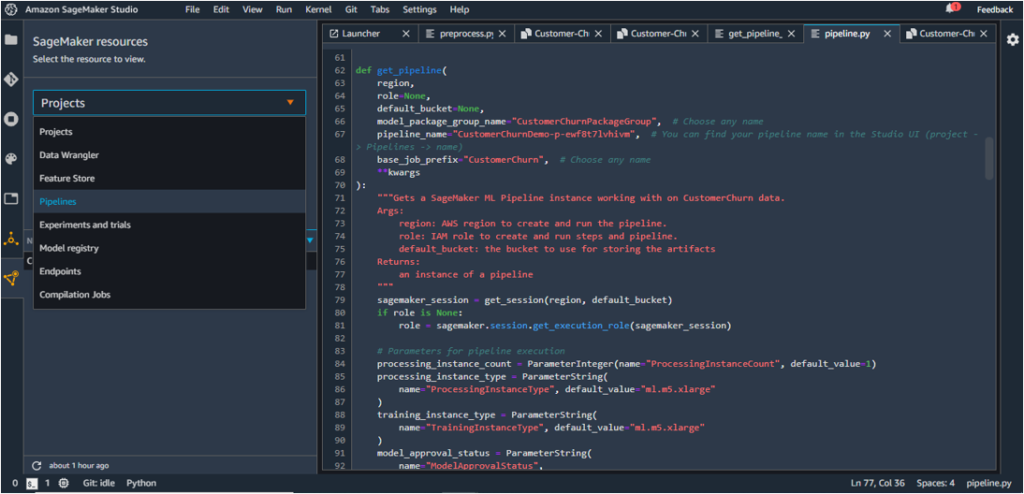
9. The pipeline steps are to be defined under pipeline.py and the existing script under customer_churn should now be replaced with the script available here .
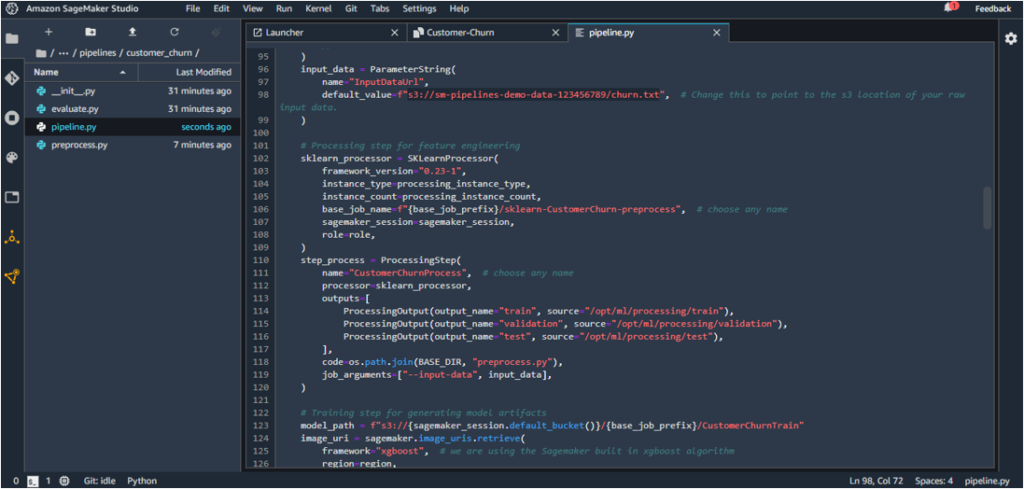
The “InputDataUrl” parameter in the script should be updated with the Amazon S3 URL in Step 1.
input_data = ParameterString(
    name="InputDataUrl",
   default_value=f"s3://YOUR_BUCKET_NAME/RawData.csv",
)
For example, the Amazon S3 URL was generated as
s3://sagemaker-us-east-2-XXXXXXXXXXXXX/sagemaker/DEMO-xgboost-churn/data/RawData.csv in the author’s case.

This will point the script to the churn dataset in the available S3 bucket.
10. Similarly, the evaluation.py code should also be updated with the evaluation script here.
11. Stage all the changes, commit and push them to CodeCommit as shown below. You will be required to enter your name and email address while committing.
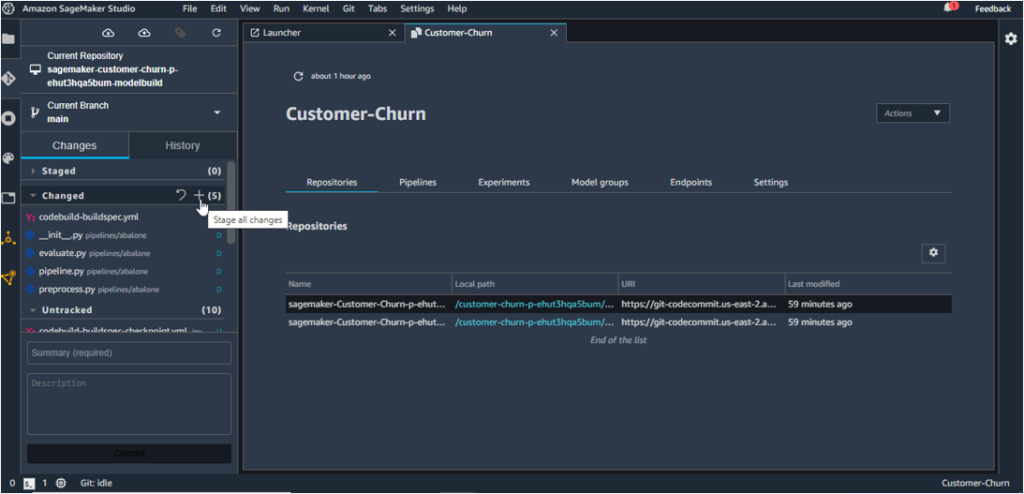
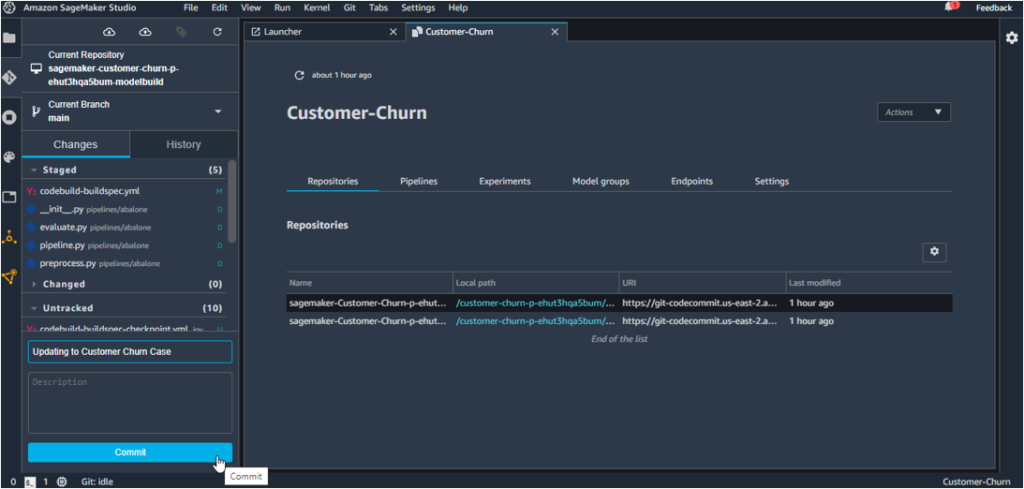
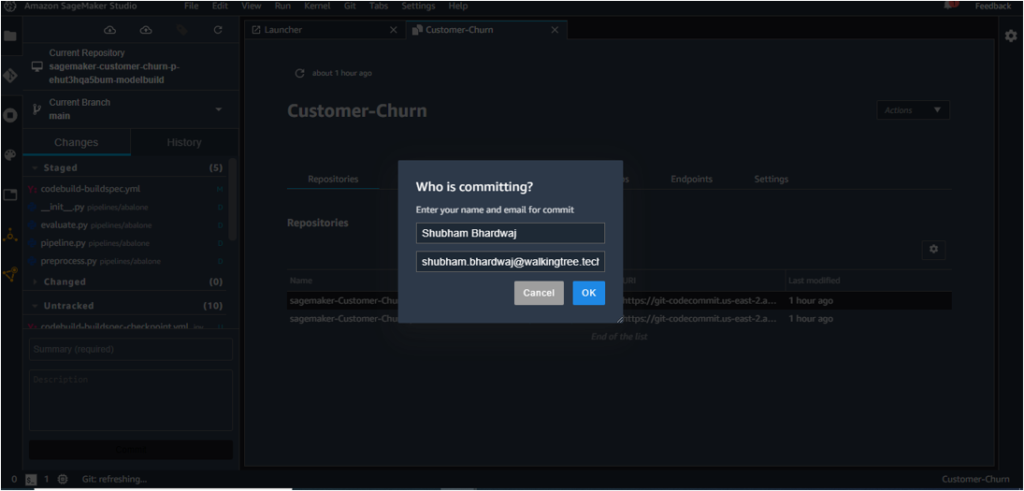
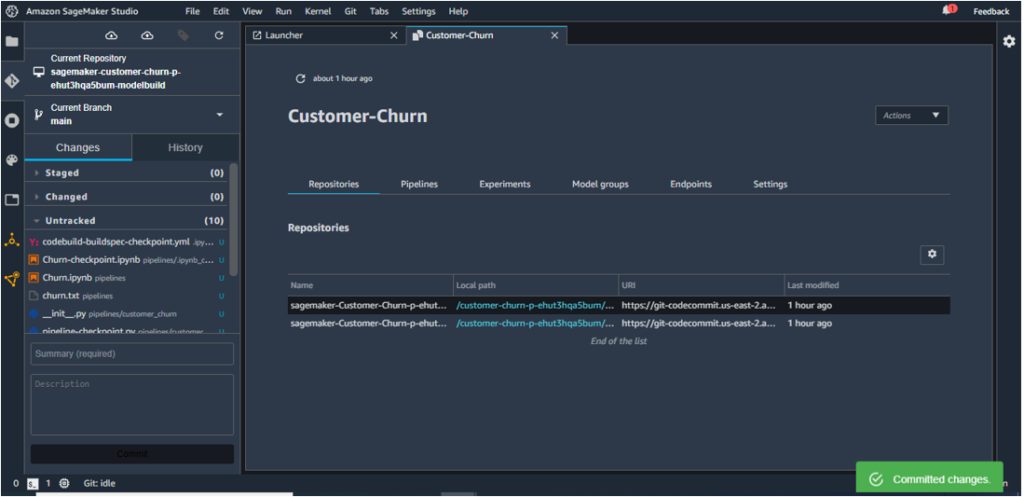
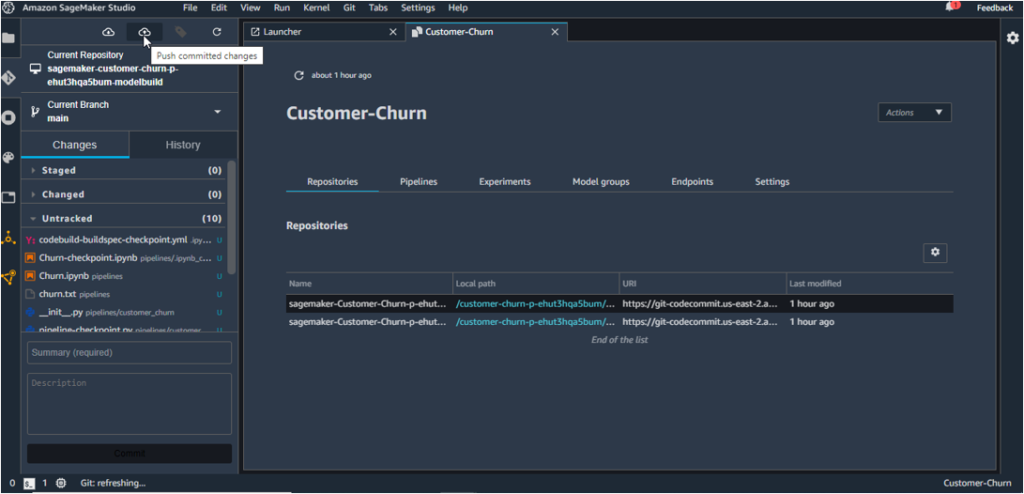
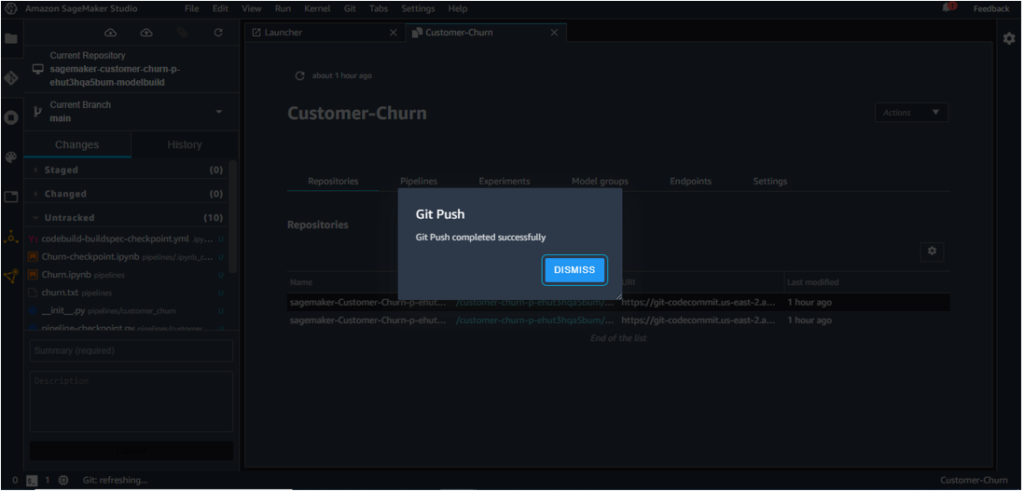
The Model Build Repo gets updated herewith.
The implementation has an Amazon Eventbridge event, which monitors for commits. Once the changes are committed and pushed to the CodeCommit repository, the build process starts for the Model Build pipeline.
12. Go to SageMaker Resources – Pipelines and see a pipeline getting created and executed.
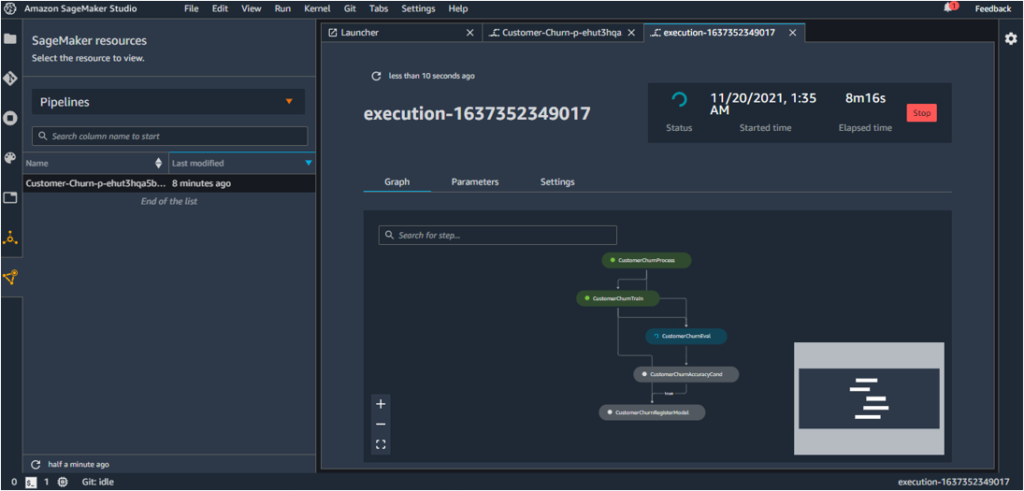
At the end of the build process, if the condition specified in the pipeline holds true, the model is pushed to the model registry.
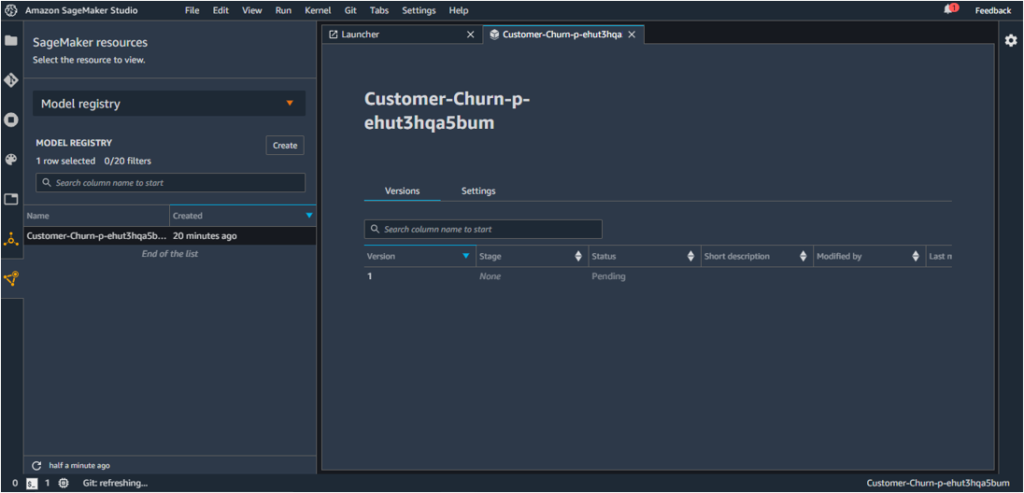
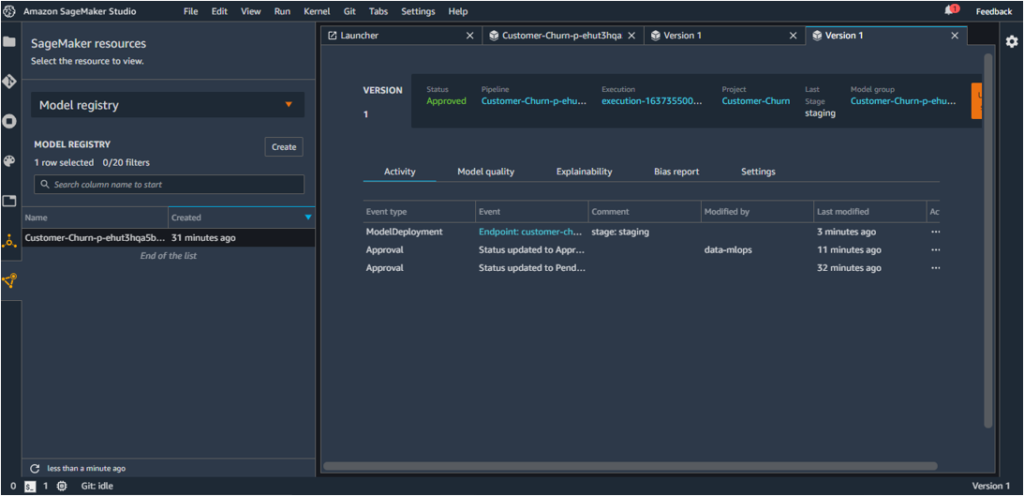
13. To check whether the model is pushed to the Model registry, go to ‘Model registry’ under SageMaker Resources.
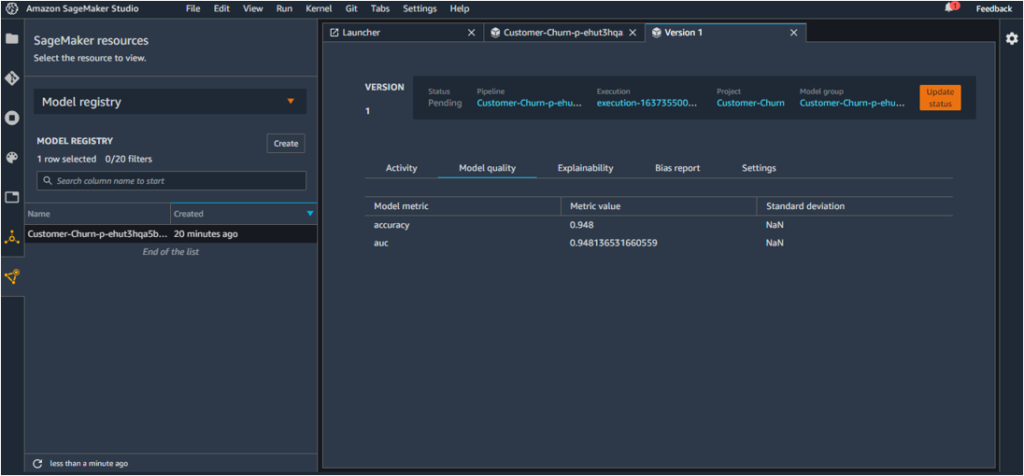
The model is pushed to the Registry because its accuracy is greater than 0.8 (the condition specified in pipeline.py). This can be verified by clicking on the model version (or anywhere in the first row), and checking the Model quality tab. The accuracy value is 0.948.
14. Since the ModelApprovalStatus is set to PendingManualApproval, the model has to be manually approved first before it makes its way to deployment.
As the model satisfies our requirement, we can push it to Staging by clicking on ‘Update Status’.
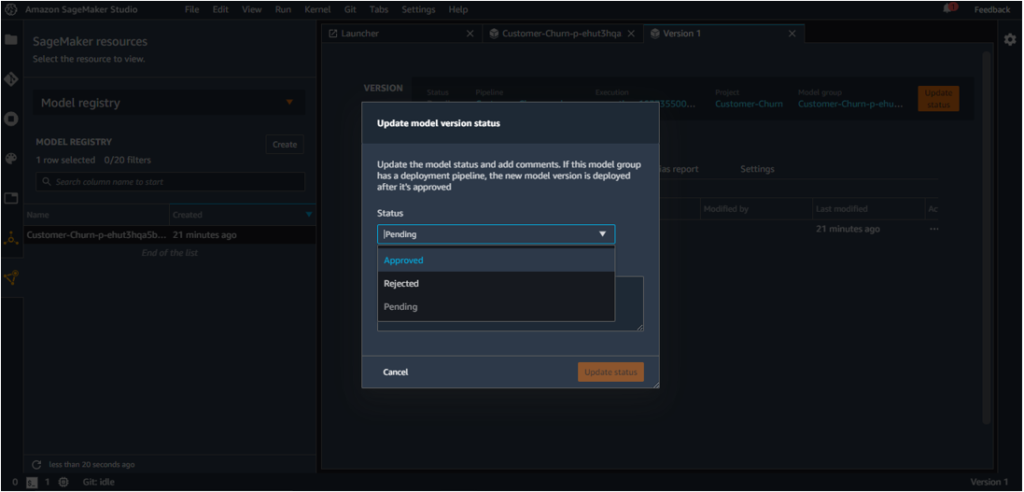
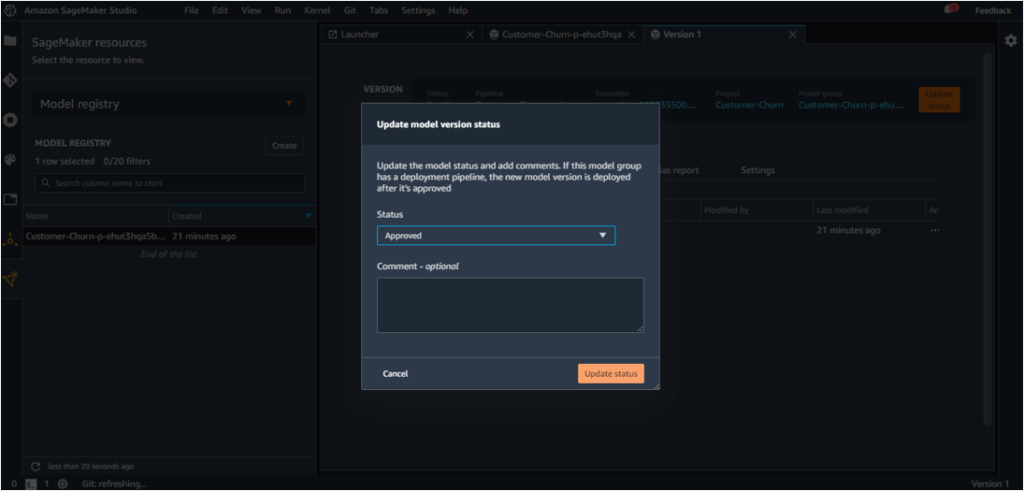
The status will be updated from Pending to Approved.

Once the model is approved, the deployment pipeline is triggered and the model is deployed to staging.
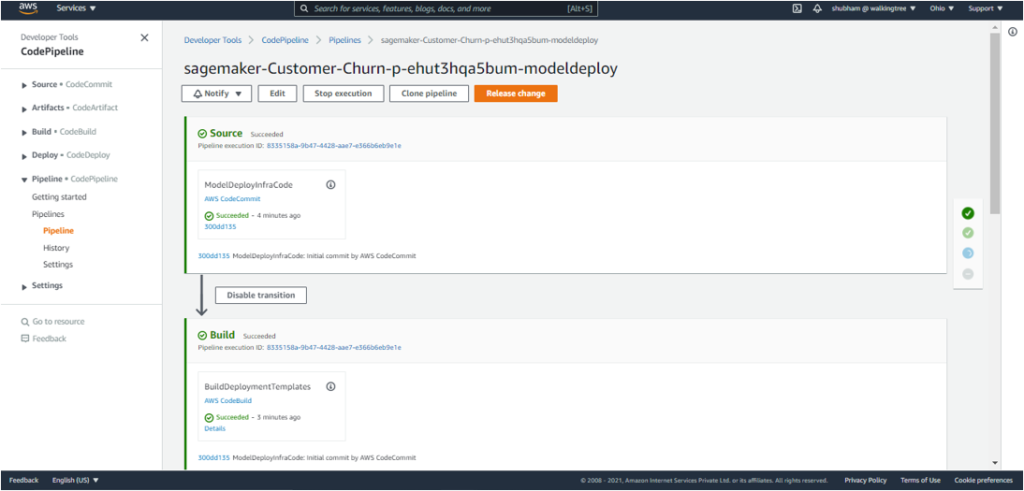
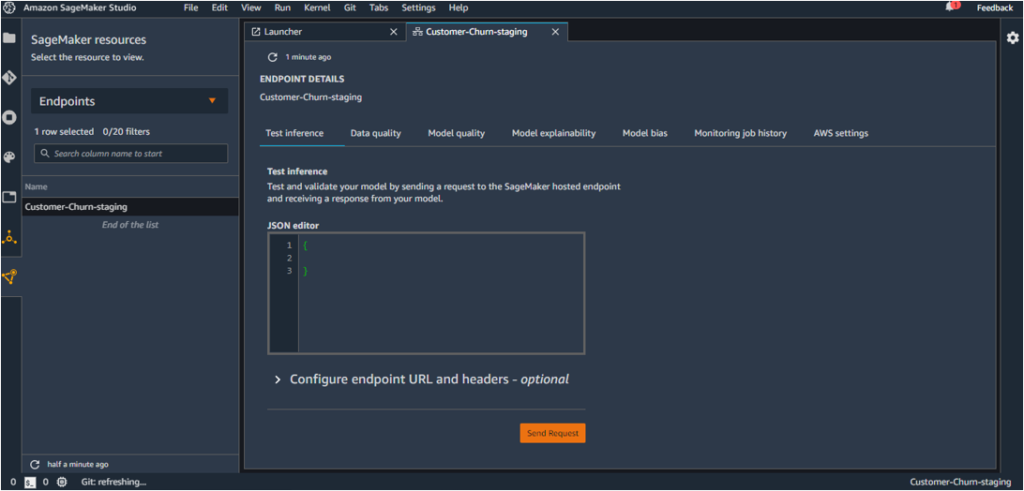
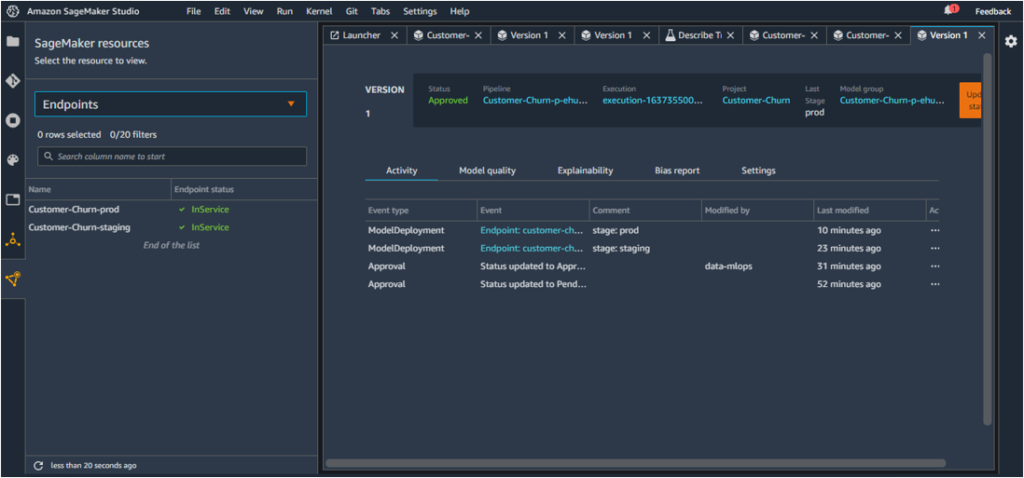
This creates an endpoint for the model in Staging
The endpoint can be located under ‘SageMaker Resources’ – ‘Endpoints’.
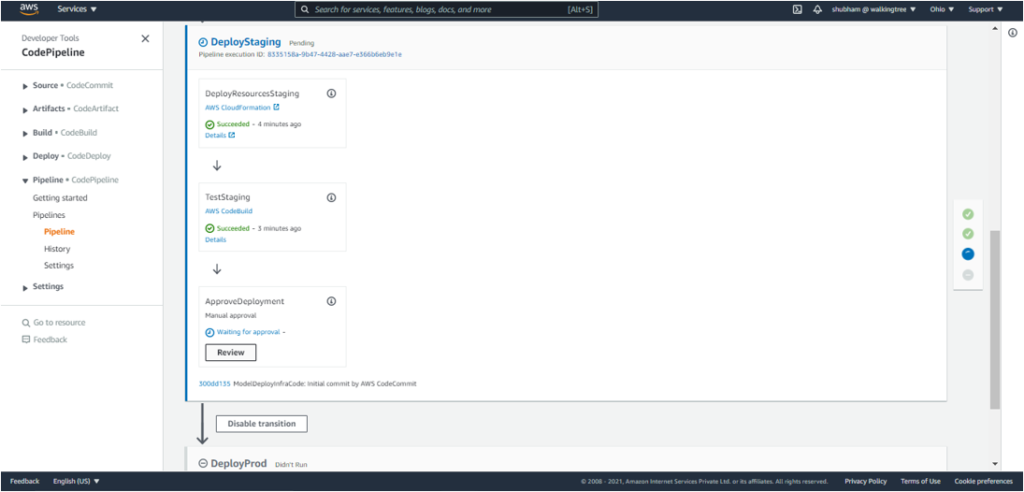
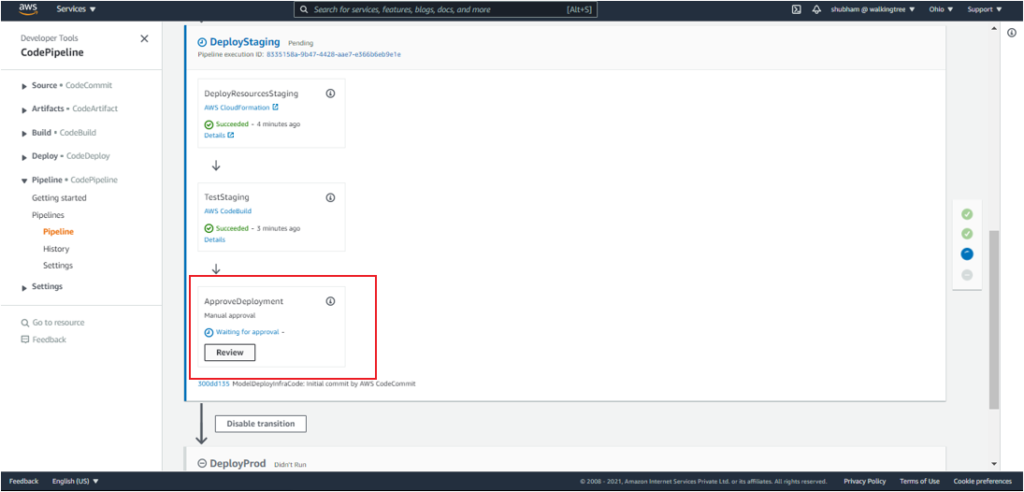
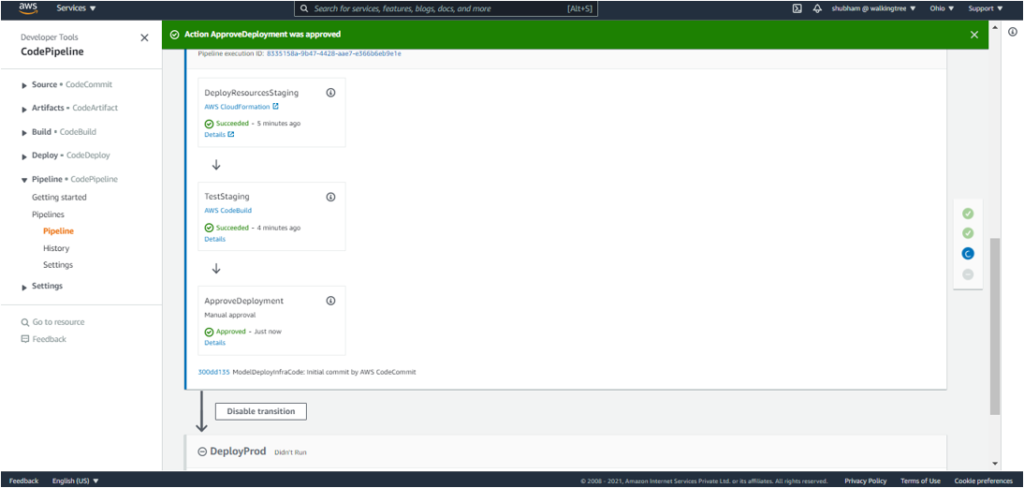
15. The model needs to be approved once again before deployment to Production. This can be achieved by clicking on ‘Review’ under ApproveDeployment.
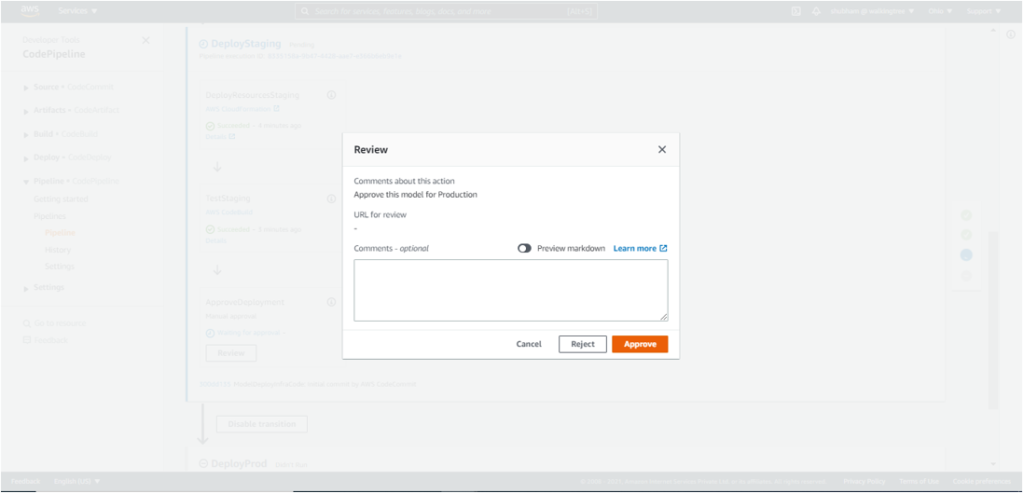
This kicks off the DeployProd process, and the model gets deployed to production.
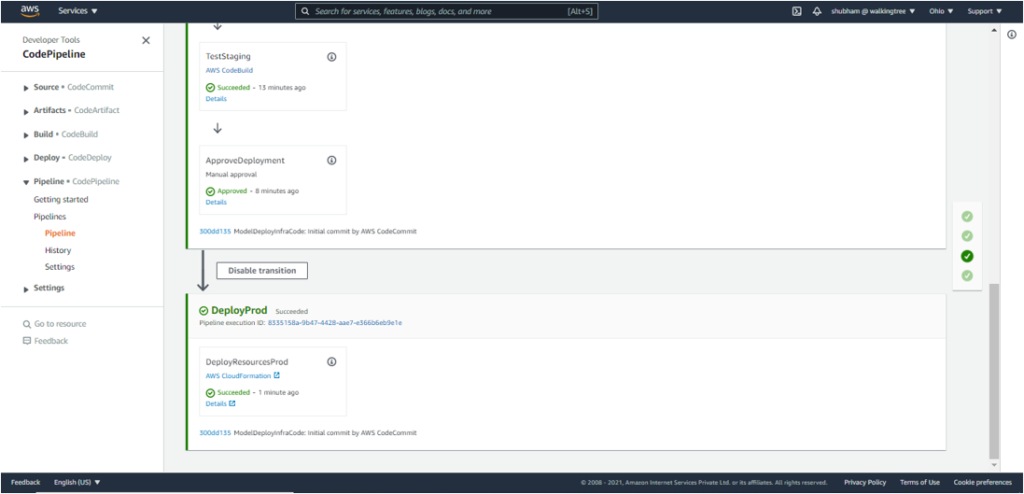
This concludes the deployment of the model in production and the creation of the associated endpoint.
3. How do Projects add Value?
SageMaker pipelines can be used independently to create ML workflows in notebooks but it becomes difficult to collaborate in a team of data scientists and ML engineers.
SageMaker projects, on the other hand, enable version control and make for code consistency and efficient collaboration across teams.
Projects also provide MLOps templates which provision the underlying resources needed for CI/CD capabilities. They also allow a trigger based approach (like one based on code change) for model generation, unlike pipelines where the notebook cells have to be executed individually for the steps to be executed.
4. Conclusion
SageMaker projects provide an easy and effective way of creating an end-to-end ML solution, and allow for version control, code consistency and efficient collaboration between different teams.
Taken together, this facilitates creation, automation and end-to-end management of ML workflows at scale, leading to faster productionization of ML models.
If you’d like to learn more about these services or need assistance, let us know and we’ll reach out to you. Know More.